Frugal Gardening and Upcycling Projects
Herbs are an amazing plant to grow at home. They offer beautiful flowers, some detract pests, and then of course using them on food is really yummy!
In general, most people think that you have to spend a lot of money to garden, but that is not true! You can easily upcycle common household items into gardening pots, and you can buy seeds for very cheap. Gardening is not only relaxing, but it can also be a great learning experience for kids.
Benefits of Gardening with Children
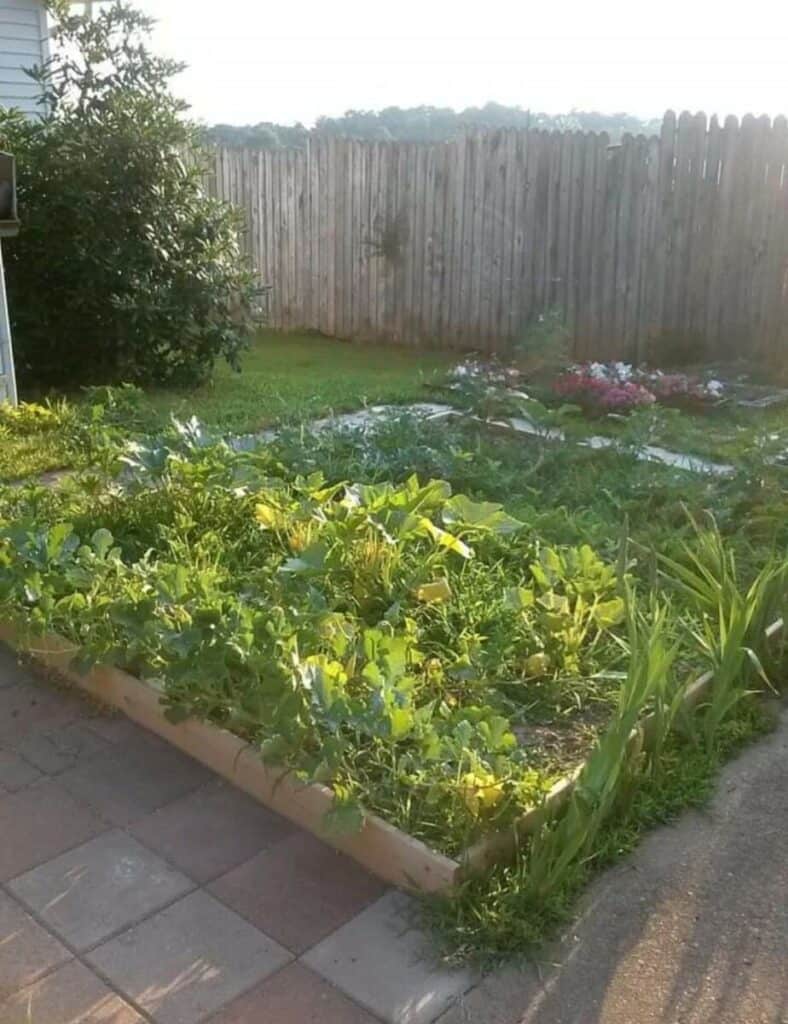
My husband and I have always been a big fan of gardening. We don’t have a huge amount of space, so we have turned our front yard into raised beds for vegetable gardens.
Some years we go huge and other years we do a very small garden depending on what is going on in our lives. Not only was gardening a fun thing that we did together, we have now started to teach our 5 year old and 2 year old about gardening.
Here are some of the HUGE benefits to gardening with your kids:
- Answering Questions: Kids are naturally curious about how things work, so showing them how plants change from a seed into a full fledged plant is just such a cool activity. Every day when my 5 year old gets home from school, he immediately wants to go check on his plants to see how they have changed.
- Better Eaters: All kids go through a picky eating stage that usually involves vegetables. For the last 2 years of vegetable gardening at home, my son is willing to try more and more vegetables. If he finds a new one that he likes, he immediately asks if we can plant some! Having your children experience vegetables in a non-eating setting, makes them more likely to experiment with eating them. Eating something you helped grow is so much more fun than eating just any vegetable from the store.
- Getting over the fear of Bugs: Gardens are natural homes to a wide variety of bugs. We get lots of worms, bees, and other creatures. It is a great chance to talk about bugs and how they can be helpful and how to react when we are around them. My daughter was scared to death of bees until she understood that bees didn’t want to hurt her, they wanted the flowers, and they are very helpful in the garden.
- Learning Compassion: Children tend to be selfish creatures that put their own wants first. It’s just the nature of childhood. By teaching them to care for something else like a little bitty seed and showing them how that care helps that seed grow into a strong plant that makes food, you are teaching your children compassion.
- Long Term Commitment: Let’s face it, most toddlers have the attention span of a gnat and are constantly wanting to change to different activities and toys. By spending a few minutes every day in the garden and observing the changes and the life cycle of plants, you are teaching your child about committing to a project for a long term. Along the way there are periods of waiting when not much is happening, but there are also rewards in seeing those first seedlings pop out of the soil and picking your own vegetables for dinner. Sometimes I think we get so set on instant gratification, that we forget that delayed gratification can really make you proud of your accomplishments.
- Cheap Family Fun: During the spring and summer time, my kids desperately want to spend every waking moment outside, but we sometimes run out of cheap fun ideas. We pick up most of our seeds at the local dollar store, and a few seedlings at a local farmers market for super cheap. Almost all of the other supplies we use carry over every season, and we may add a few as needed but overall, the cost to maintain the vegetable garden is very low. We have spent many weekday afternoons and weekends planting flowers for bees, painting old tires for planting, and weeding the garden.
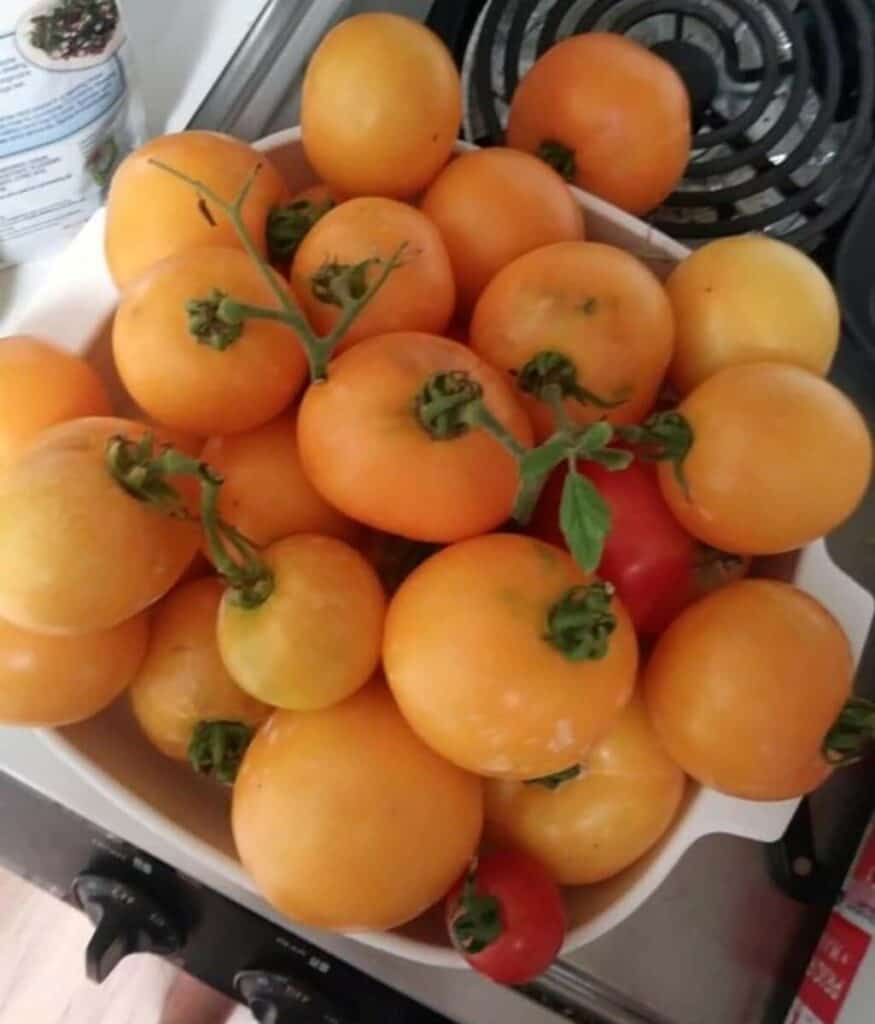
- Problem Solving: Our kids don’t know it yet, but they learned many school lessons in the garden. We have them help measure the distance between plantings with tape measures, we practice basic math, and we also tackle problem solving. As we work on projects, we talk to them about why we do things, and what happens after we do them. So, we like to get their input when problems arise. For instance, one of our tomato plants kept falling to one side, so we asked our son what should we do to fix this? His brain instantly went to work identifying the problem and how best to solve it. Of course, his solutions usually involved rockets or robots, but eventually we came up with the conclusion of using some ties to straighten our plant up to keep it from leaning over.
- Never-ending supply of ideas: So far, we have yet to run out of ideas of new things to try in the garden! Every year we attempt to grow something new, grow something better, or just add onto our garden. We have done strawberry beds, tomato teepees, lots of container gardening, and learning different ways to grow potatoes. If you ever get low on ideas, Pinterest is an amazing resource!
Gardening for Toddlers
Some things to keep in mind when gardening with and for toddlers are proper shoes, sunscreen, and hand washing.
During the summer time, it is totally normal to wear open toed shoes or flip flops, but when working in the garden you should really have closed toed shoes that you don’t mind getting dirty. Sometimes we use croc style plastic shoes that are easy to clean, and other times we make already dirty school shoes into garden shoes.
Just like any other outdoor activity, we try to work in the garden in the morning time or the late afternoon. This keeps you from getting overheated and from getting too much sun exposure. My son loves to wear a cowboy hat while working in the garden. Definitely consider using sunscreen during these times to prevent sunburns and exposure.
When we are playing in the garden, we are bound to get messy. We play with worms and water plants with reclaimed water. All this playing usually leads into lots of requests for drinks and snacks. As a good precautionary measure, we teach our kids to always wash their hands before eating or drinking when playing in the garden. We don’t use harmful pesticides or chemicals in our gardens, but we still teach them that food should also be washed before we eat it.
Easy things to Grow with Toddlers
When you start with seeds, there is really no plants that are off limits for toddlers. We love to start with herbs and flowers in early spring.
Before we decide what to plant in the garden, we talk to our kids about what they would like to grow. This usually leads to discussions about whether or not M&Ms and Skittles can be planted, but eventually we write a pretty big wish list of actual fruits and vegetables.
We take the kids to the local Dollar Tree, and we show them the seeds that are available on the display stand. We have found the exact same seeds at home improvement stores be available at the dollar store, and we typically only pay $1 for 4 packs of seeds.
Due to the very cheap cost of seeds, we usually will pick out quite a few. You don’t have to use all the seeds in the pack, and you can save what is left over for another year.
This year we decided to try our hand at upcycled container gardening. I saw a few projects that took bottles of all shapes and sizes and turned them into mini greenhouses for starting seeds.
Upcycle Herb Garden with Soda Bottles
We asked all our friends and neighbors to save any soda bottles for us and before we knew it, we had quite a few.
While one kid was napping and the other was at school, I did some prep for this first project with soda bottles. First, I removed the paper label from each bottle with my hands to get most of it off.
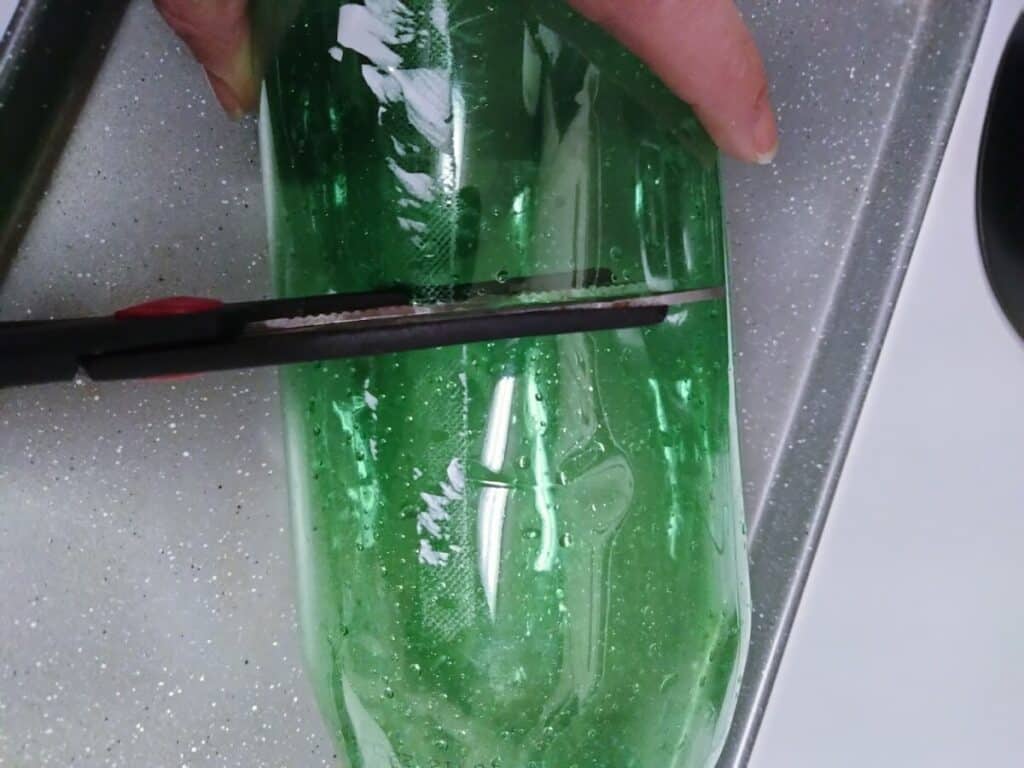
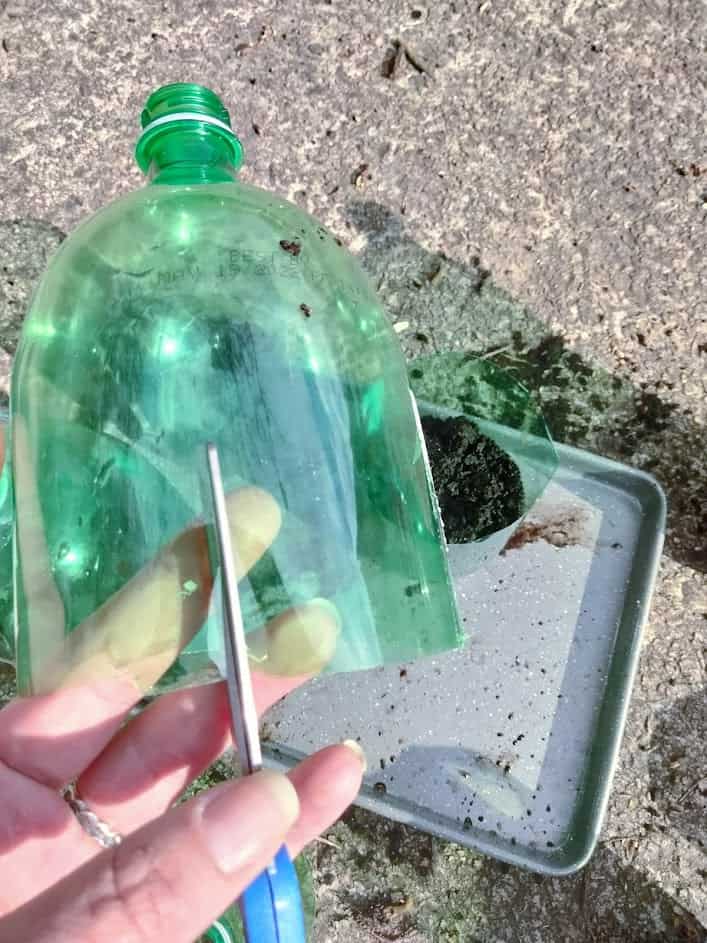
Then, I cut through the side of each bottle all the way around. I aimed to cut a little higher than halfway up the bottle, but really I just eyeballed it. I used my handy dandy heavy duty kitchen shears.
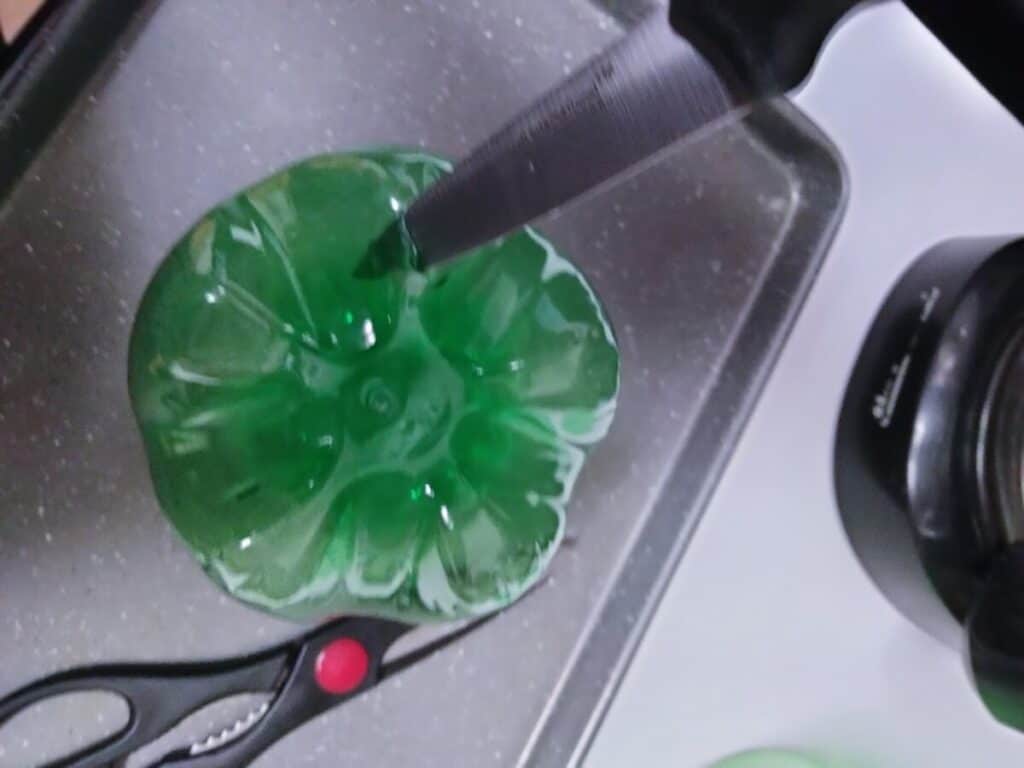
Now that each of the soda bottles were cut in half, I needed some sort of drain holes in the bottom. I used a small sharp paring knife to poke holes in between the raised edges of the bottom. You don’t want to poke holes where the bottle will be sitting because it will plug the holes and not let water out.
You can also use an awl punch or razor knife to do this. Nothing fancy needed, just get some holes in there. I put one hole in every raised spot, but as long as you have 4-5 holes in each bottle you will be fine.
This was pretty much all the prep work needed that involved sharp and pokey things that I didn’t want my toddlers to try to help with!
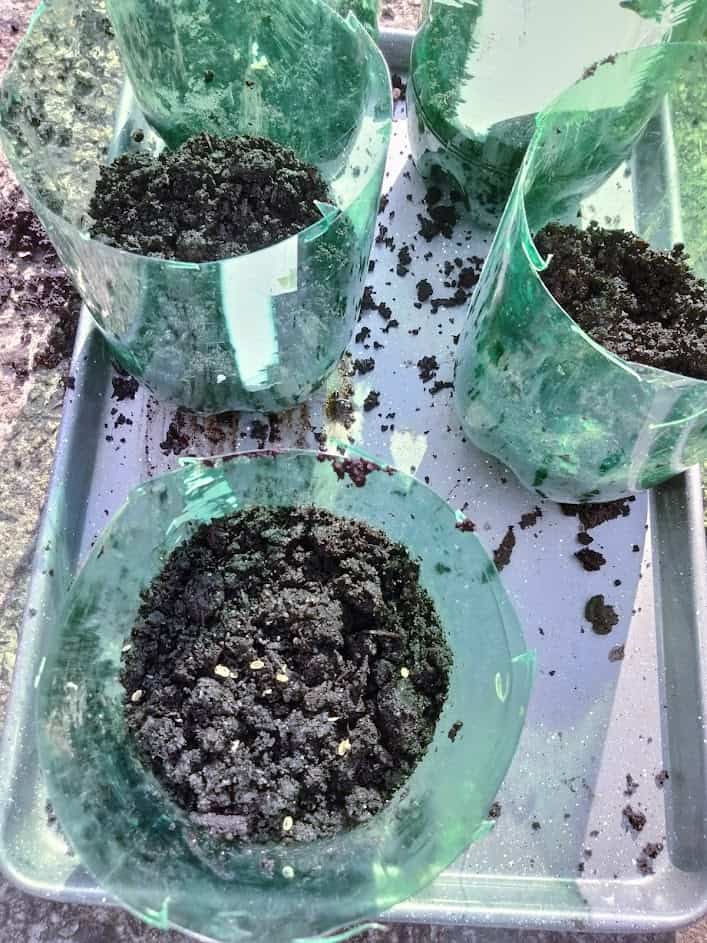
Once school was out, we went to the front yard to get dirty! I gave each kid a small shovel and had them fill little play buckets with potting soil. They then transferred to the dirt into the bottom halves of our bottles.
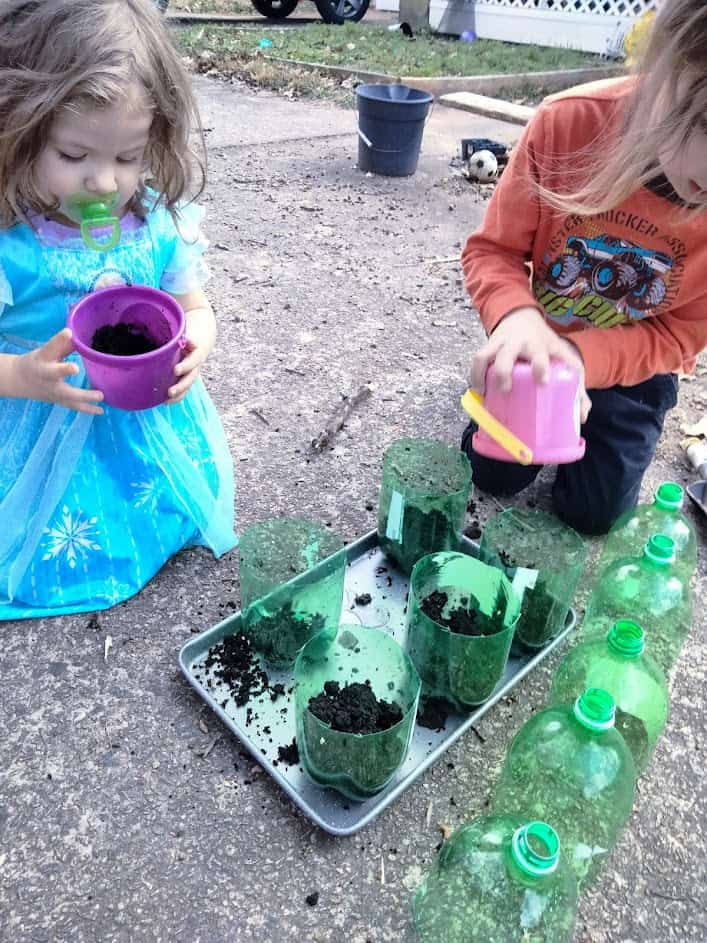
I pretty much let them do all the dirty work and told them we wanted about 3 inches of dirt in each bottle. Yes, my daughter is gardening in an Elsa dress, because these days it is just easier to let her be Elsa than convince her to be a regular dressed person.
Now it is time for the seeds. We have 4 packs of seeds from the Dollar Tree and a pack of free seeds that was being given out at our bank. The seeds that we will plant are thyme, cilantro, oregano, basil, and a savory herb mix of basil/dill/marjoram.
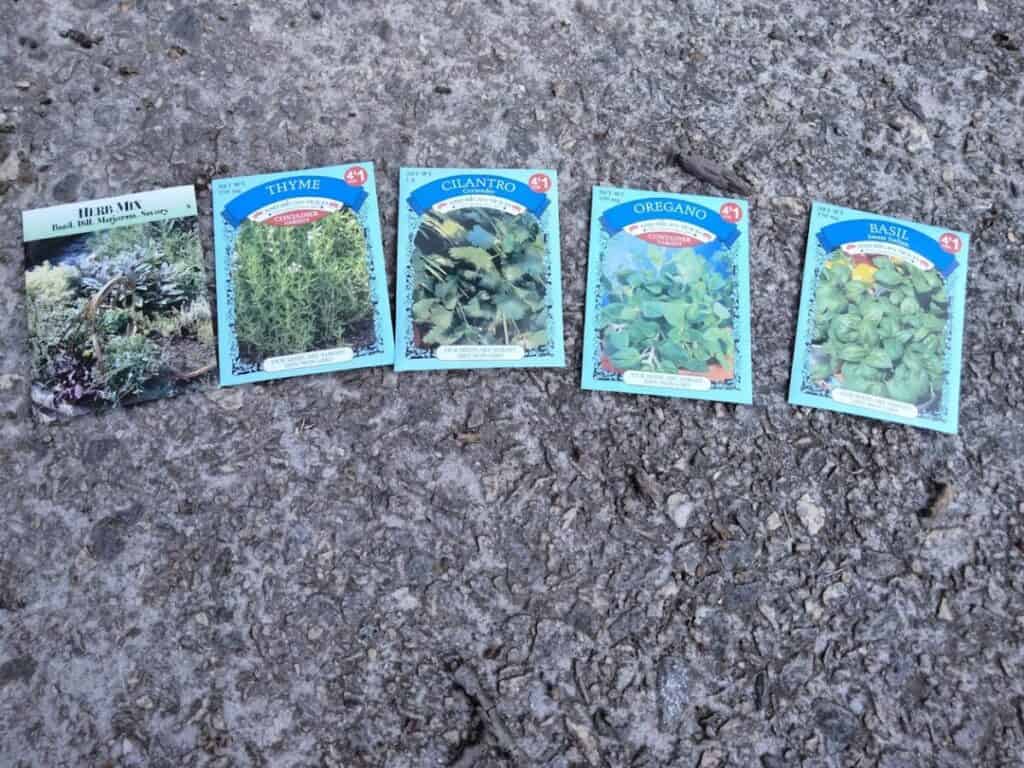
I picked these seeds because I thought they were ones that we would use frequently, and the herb mix sounded interesting.
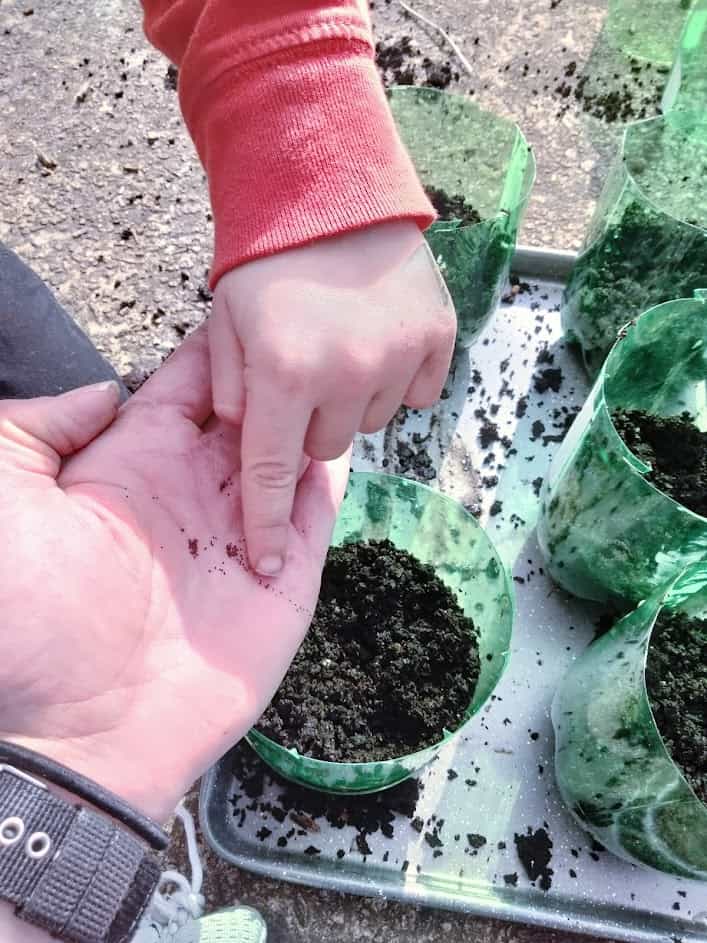
About this time, my daughter AKA Elsa decided she was having way too much fun digging in the dirt, so I enlisted my 5 year old son to be the seed depositor.
I poured a small amount of one seed packet at a time into my hand and let him push the seeds into each pot. Some of these seeds are mega tiny so picking them up wasn’t really possible.
Once some of each the 5 seeds packets were put into each bottle, we needed more dirt to cover them. I had the kids get enough dirt to add about 1 inch of dirt to each bottle.
If you read the back of your seed packets it will give you helpful tips for how deep to plant each type of seeds.
After all seeds were successfully covered, we used water from our rain barrels to gently soak the soil. We are aiming for wet, but not drowning.
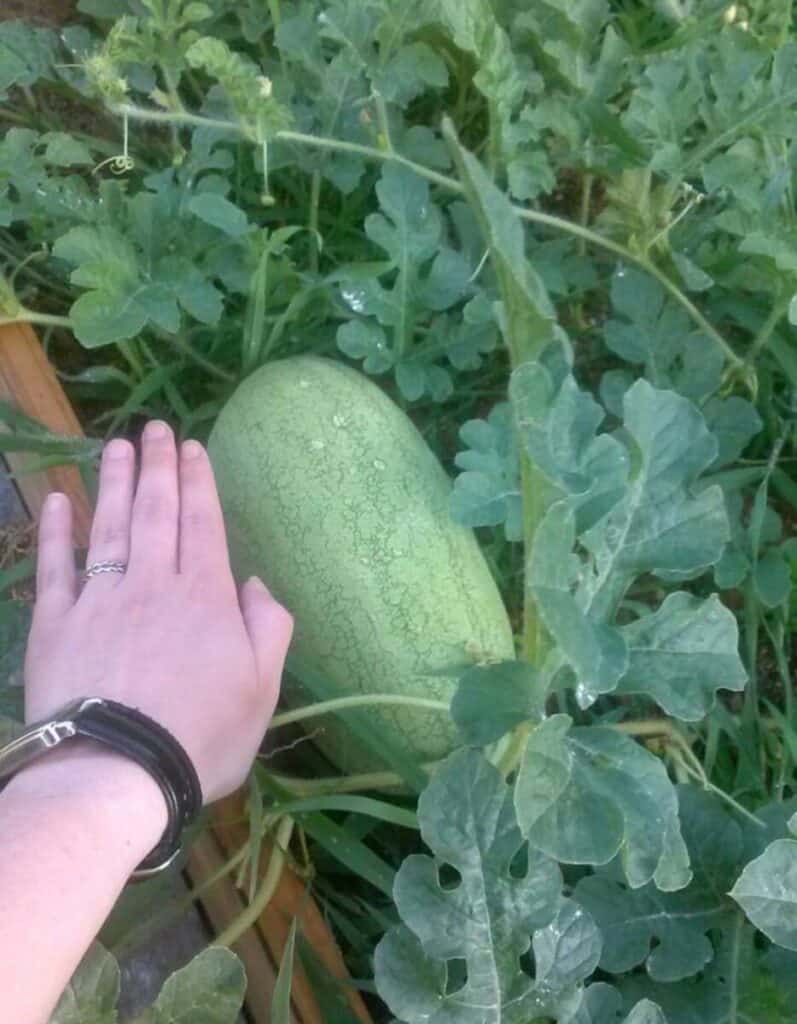
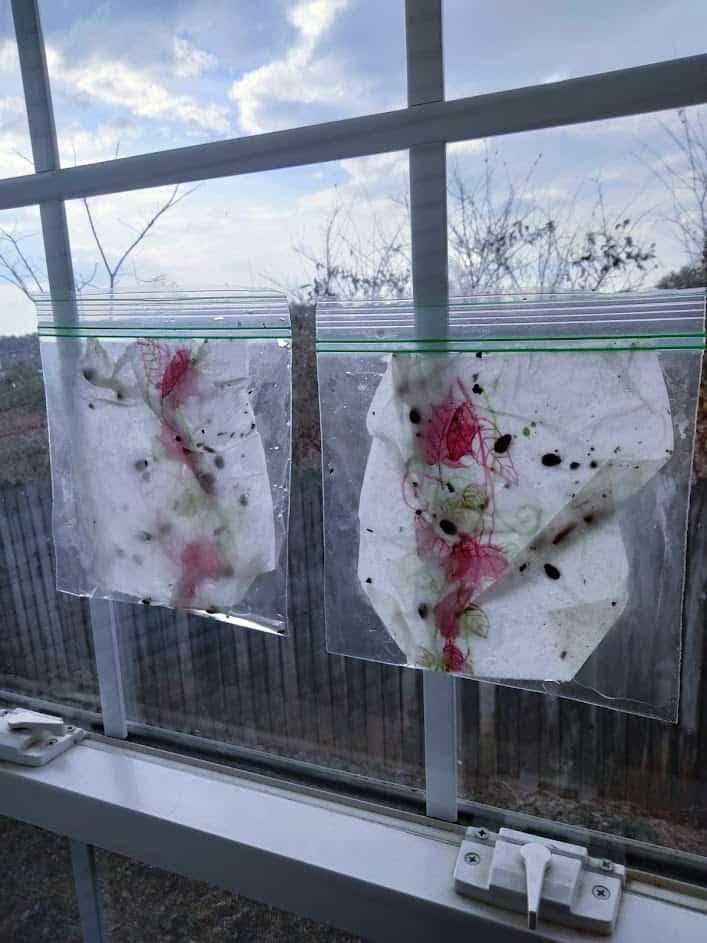
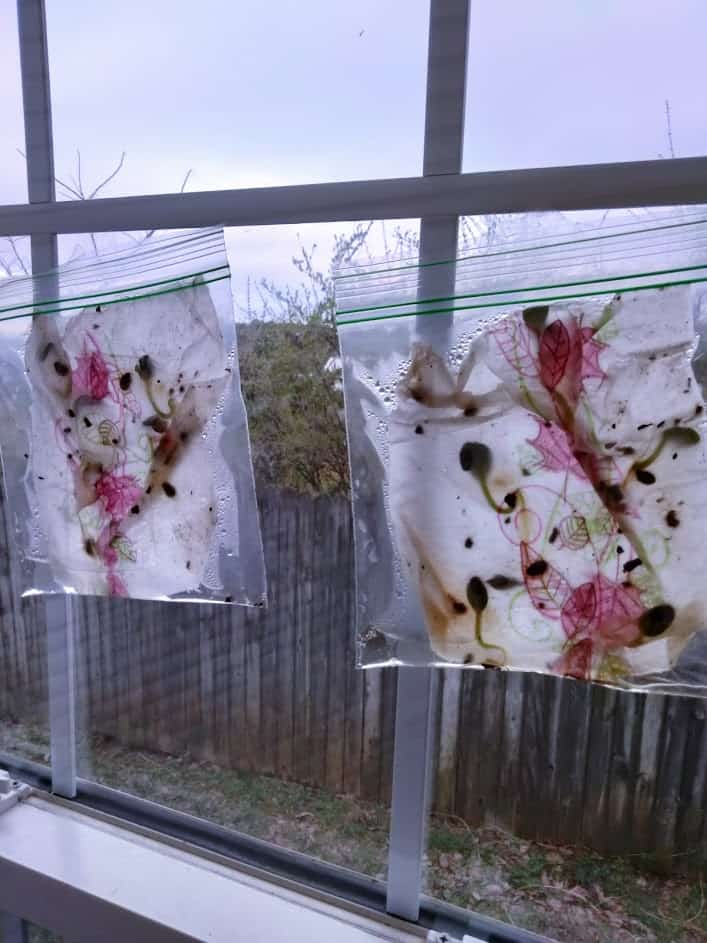
My 5 year old has been obsessed with the idea of growing watermelons this year, so I decided to sprout some watermelon seeds in ziploc bags.
This was a project that I remember doing back in elementary school and it is a super easy activity for toddlers. All you need is some paper towels and a few ziploc bags.
First you wet the paper towels, and then place your seeds on one half of the paper towels.

In hindsight I would have picked a better spot to put the wet paper towel, so I didn’t end up with extra debris, but it still worked just fine. Once the seeds are placed, you simply fold the empty half of the towel over the seeds.
We then stuffed the paper towels as neatly as we could into the ziploc bags and sealed them up. In theory the water and the paper towel are all the seeds need to grow!
Once the bags were ready to go, I decided to tape them up to my son’s bedroom window because he does get some sunlight early in the morning and late afternoon, but for most of the day our house is pretty much in the shade.
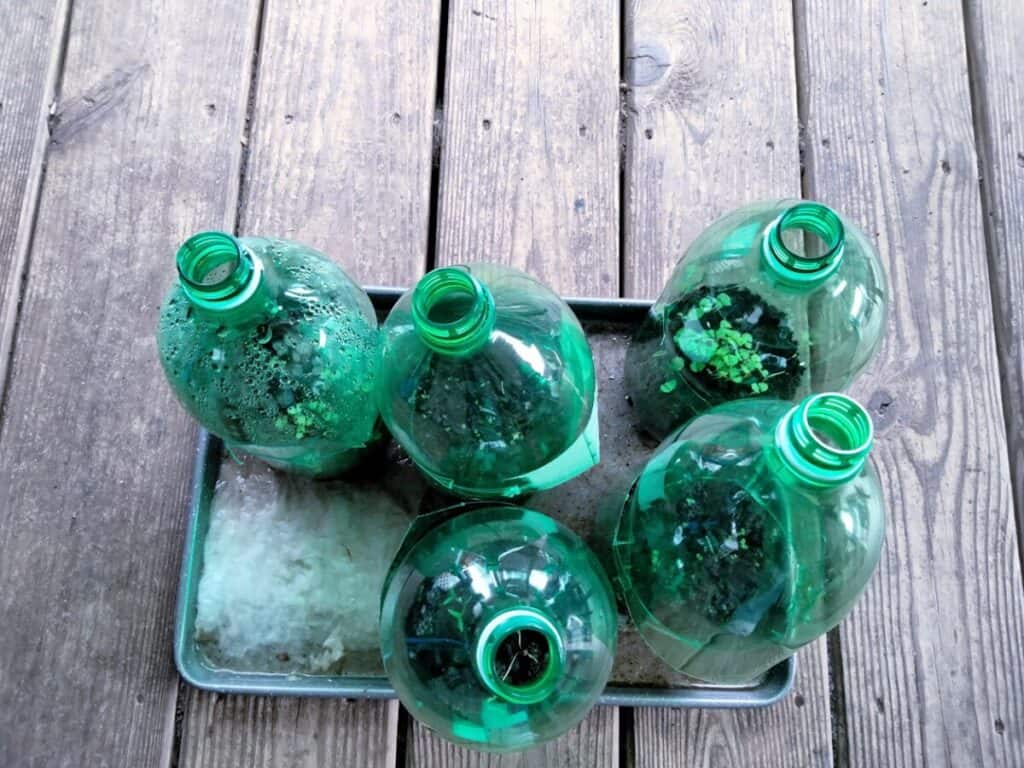
Back to the soda bottles, at this point I realized that the tops did not sit as nicely as I wanted atop the bottoms. So, I used my kitchen sheer again to make some 1/2 inch slits in the tops along where I had cut them apart.
These slits help to nestle the tops onto the bottom parts of the bottle. The nice part about using the soda bottles, is that it mimics a greenhouse.
Pro Tip: next time, I will grab a marker and label each bottle, so I know what seeds are in each. Right now, I have to wait until the herbs start growing to be able to tell what is in each bottle!
The plastic container keeps the seeds warm and moist and it’s harder for them to dry out. If these had been just planted in a regular planter, they may need more watering and take longer to start seeing sprouts.
I also placed the bottles on top of an old sheet pan that I was no longer cooking with, and this allowed me to easily move them inside if needed.
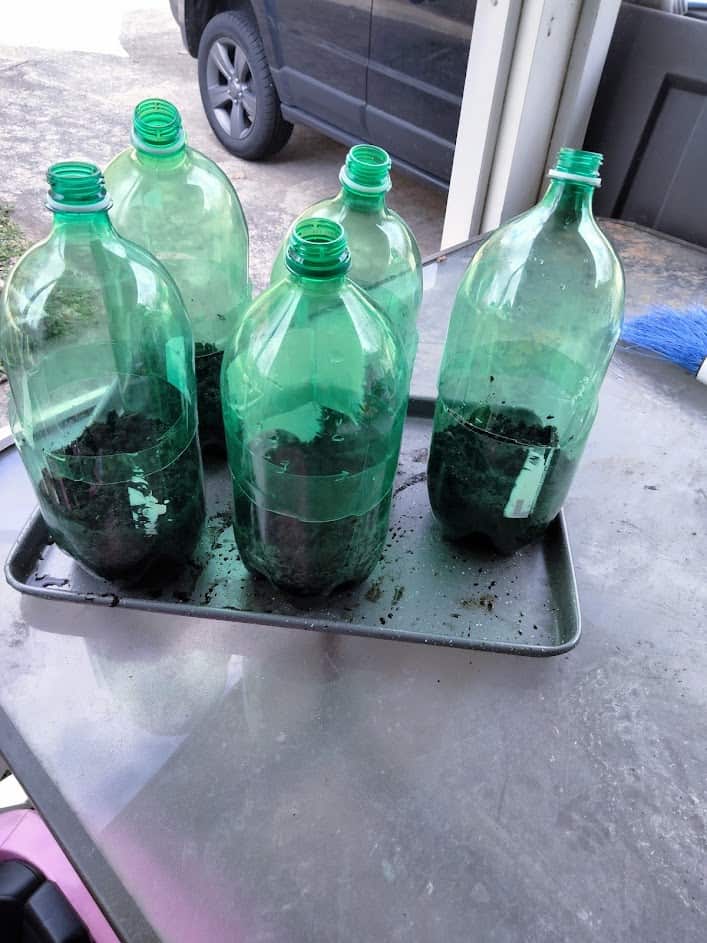
We took the 5 soda bottles that we planted and left them in a nice sunny spot out in our front yard. I kept an eye on the weather and brought the seeds indoors if the temperature dropped below 50 degrees F.
We don’t want to overload the seeds with too much water, so I water the bottles about every 2-3 days when they are starting to look dry.
Once the seeds are growing and don’t need the greenhouse effect, we can remove the tops of the bottles. Eventually the plants will grow out of the bottle size, so you can then plant them in the ground after the last frost, or just put them in a bigger container.
The herbs took about a week to start seeing growth, and the watermelon seeds took about 2 weeks to start seeing some sprouts forming!
Upcycled Garden Ideas
After planting seeds and watching them grow over time, my kids now want to upcycle all bottles into mini gardens! I see lots of future upcycled garden ideas in our future.
Some Ideas that we have done already:
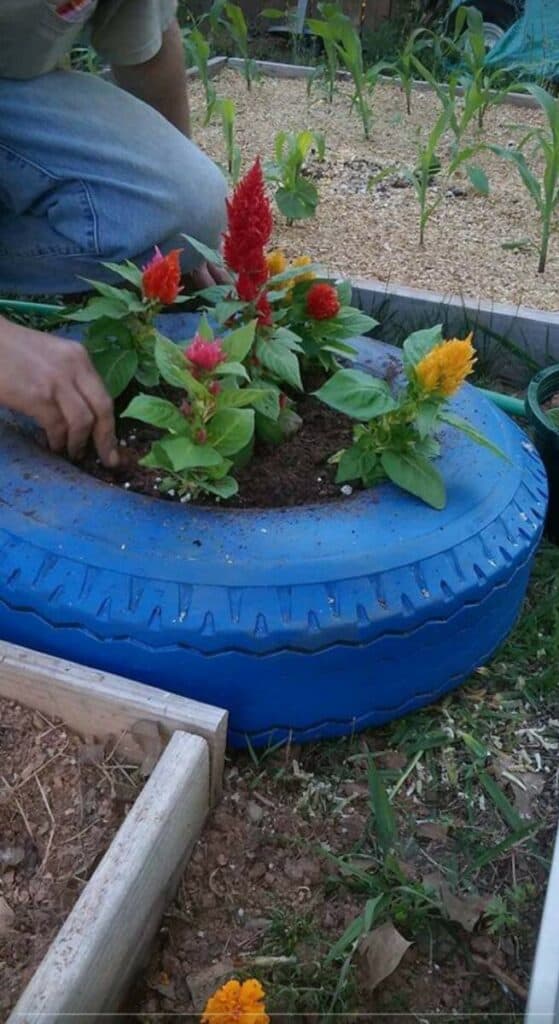
Upcycle Tires- A few years ago we noticed a few dirty old tires in our neighborhood that were thrown into an empty lot. We dragged them home, cleaned them with a hose, and painted them with left over paint. We have used these to plant flowers and mounded plants like pumpkins and watermelons.
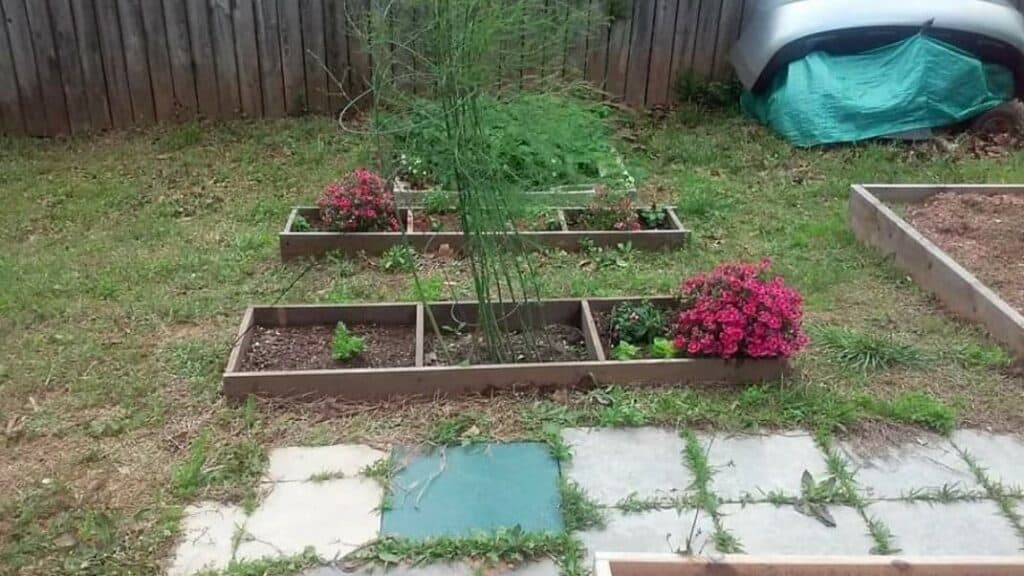
Upcycle Waterbed Frame- Before getting married my husband had a waterbed with a solid wood frame. We had this thing sitting in pieces in the garage for a long time until one day he said the wood frame was almost the perfect size for a raised bed. Sure enough this frame was what we used to start the first of 4 raised beds in our garden! The headboard section of the waterbed frame was then turned into mini raised beds for asparagus and flowers.
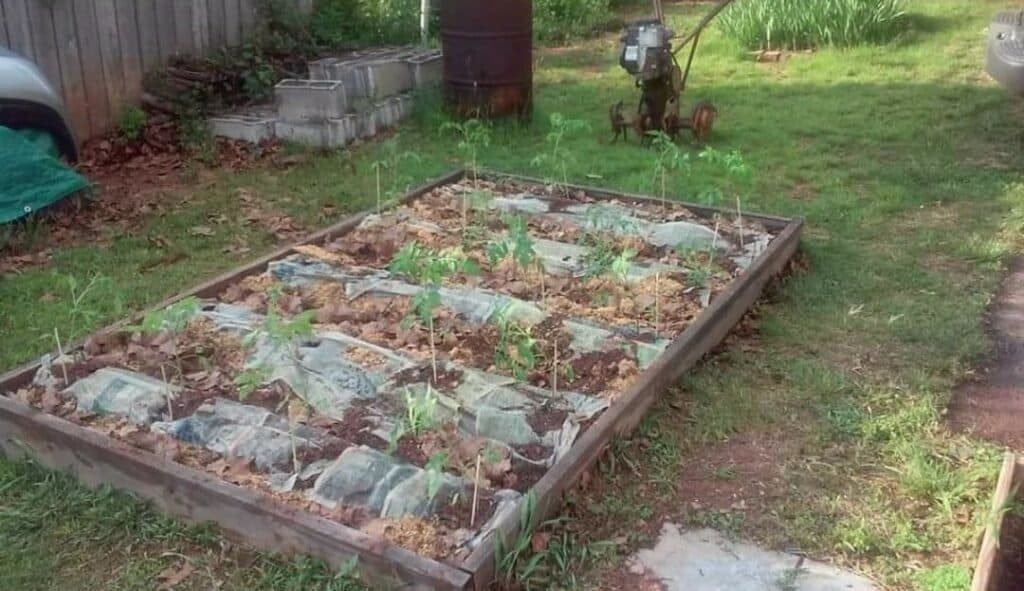
Upcycle Milk Jugs– Last year we had a very weird heavy rain and no rain type of spring/summer. We buried milk jugs with drain holes in between our planting rows in the garden. This allowed us to not only give them plant food but to also distribute water more evenly when rain was not coming.
Upcycle Newspaper– when prepping our garden for planting, we use old newspaper to help with weed control. After our soil is tilled and ready for planting, we lay down newspaper and then mulch to cover it. This helps keep the moisture in the ground, promote worms, and cuts down on weeds.
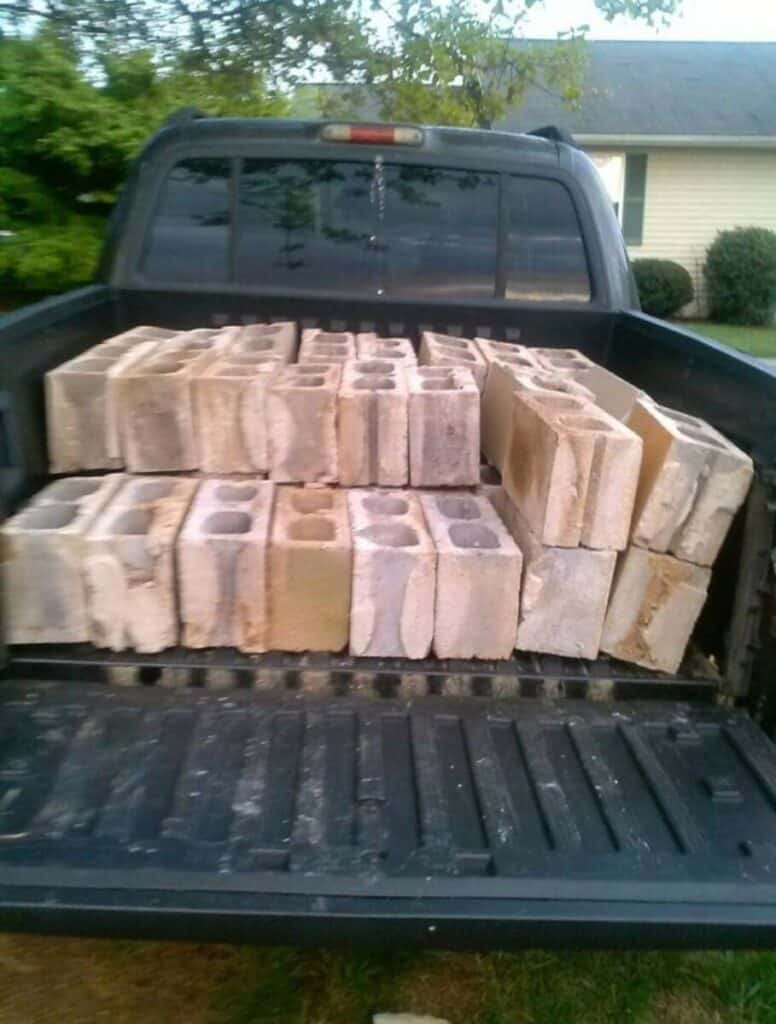
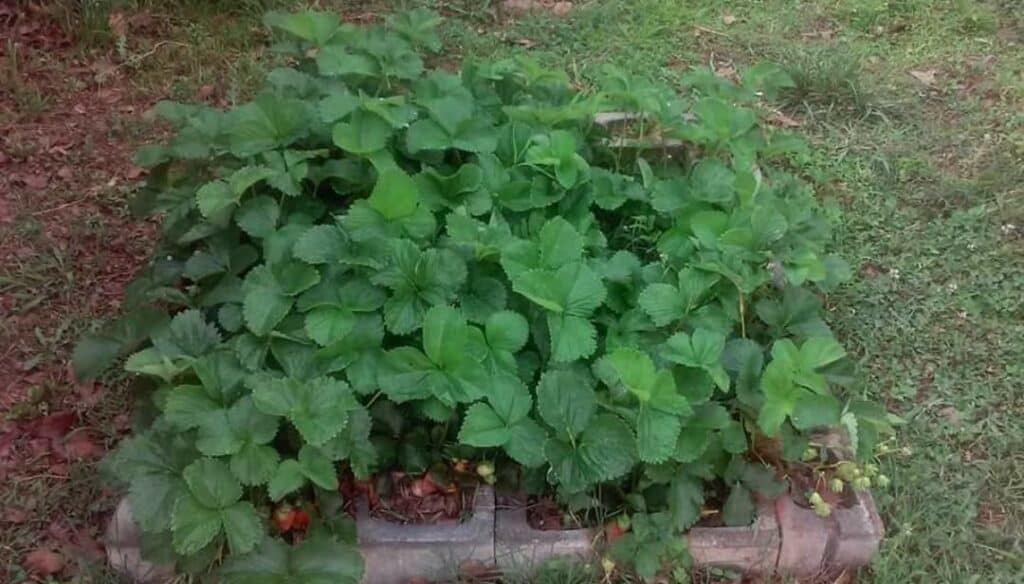
Upcycle Cinderblocks- We rescued a bunch of free cinderblocks from a building being torn down. This came from a free post on Facebook giving them away to anyone that would come remove them. We then turned those into a strawberry bed and a few other projects.
Upcycle Chicken Wire- One of my husband’s co-workers gave us a roll of used chicken wire, that we used for support on frames for our beans, tomatoes, and cucumber plants.
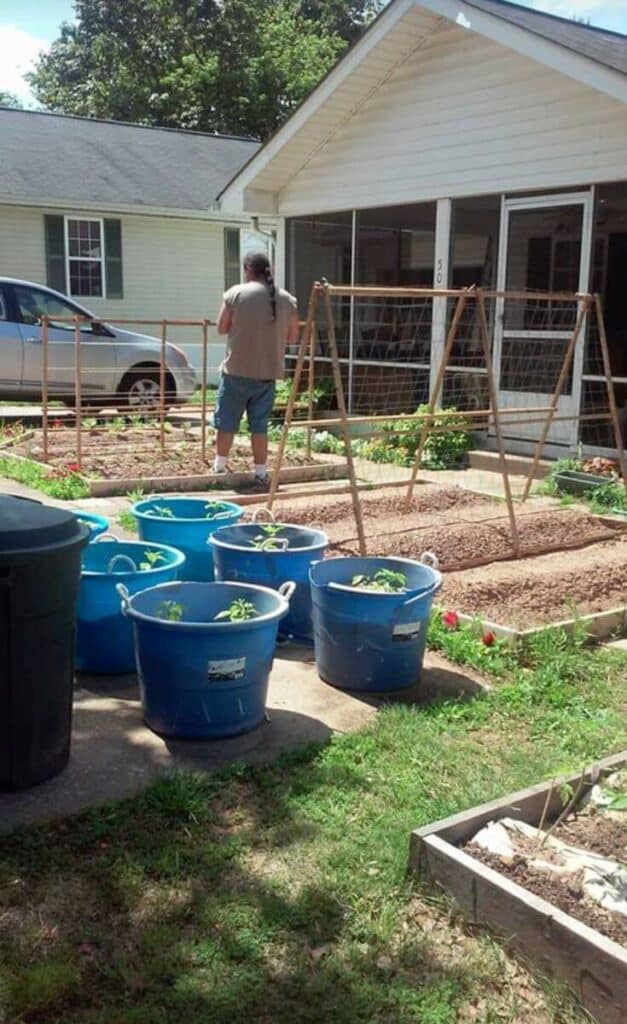
Upcycle Containers– these big blue containers were on clearance for a $1 so we turned them into a container garden for jalapeño peppers!

Just take a look around you and you will see many opportunities to make a low dough garden. The first year our garden started with just one bed and the blue containers. Over the years we add some new projects, so don’t think you have to start big. Start small and continue to literally grow your garden space!
For more gardening information and ideas, check out “Is Gardening an Expensive Hobby?”.