How to Replace a Zipper on a Jacket for Cheap
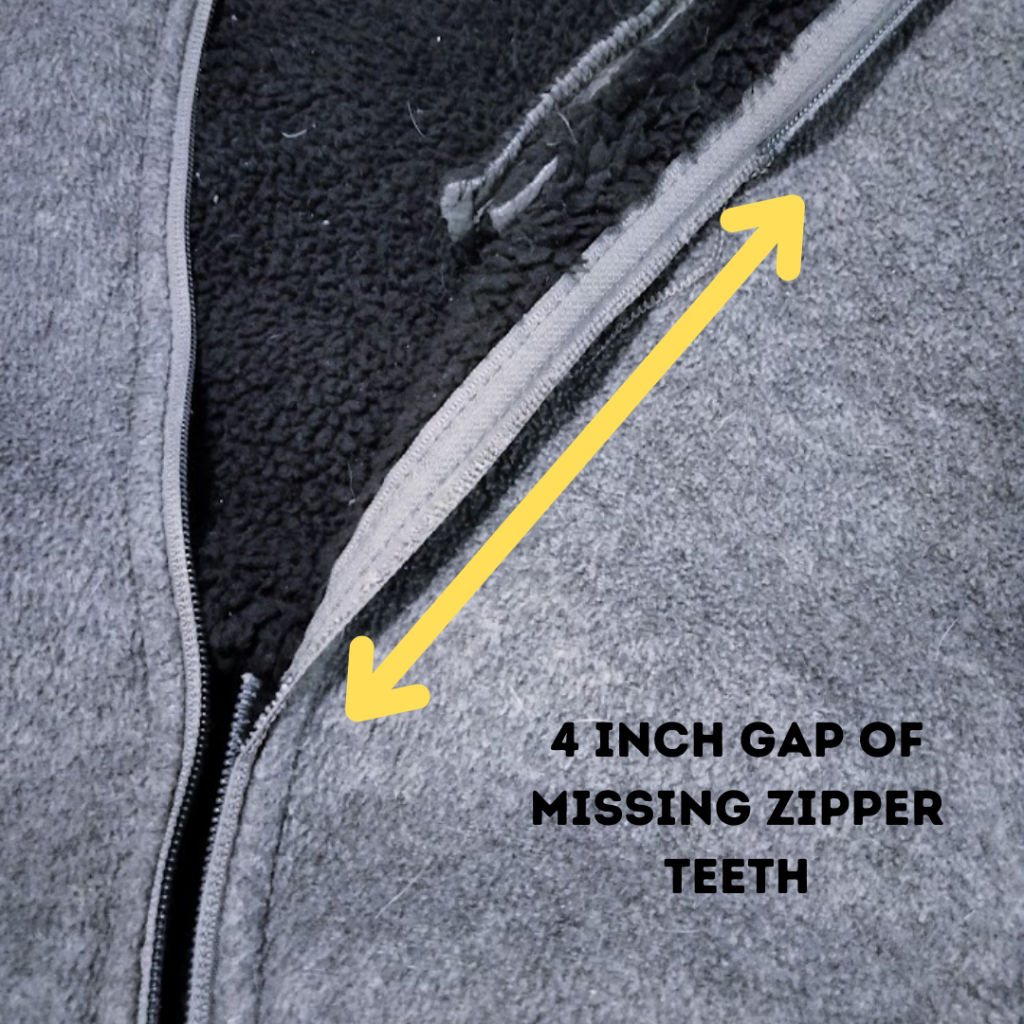
Having a jacket that you can’t zip up during the wintertime just stinks. If it’s your favorite, most comfortable and warmest jacket, that is just the worst! So, this jacket is technically my husband’s jacket, but I love it and wear it often. When the zipper snagged and eventually broke a 4-inch section off, I was so disappointed. This jacket sat in my laundry room for months because I could not make myself toss it. There had to be an easy and cheap way to fix it!
2 main types of zippers
There are two main types of zippers. The first one is a zipper with individual teeth and is fairly simple to repair. The second type is a “continuous coil” zipper and once these are broken, there is no way to fix them. The continuous coil zipper has to be replaced. It is called continuous coil because the teeth are all connected in one piece. My husband’s jacket is continuous coil, so the zipper needs to be replaced.

How to find a Replacement Zipper
Replacement zippers can be found at almost any craft or fabric store like JoAnn’s and Hobby Lobby. You can also find them in the craft department at stores like Wal-mart and on Amazon online.
All you need to do is measure the length of the zipper from starting point to stop. Most zippers are sold in whole inch increments, so you would want to round the number to the next inch.
Some clothing is made with custom size zippers so it will be hard to find an exact match for the size. For example, my jacket zipper measured 27 3/4 inches, so I was looking for a 28 inch zipper.
After looking at all my options, the cheapest zipper replacement I could find was going to be $11.99 plus shipping.
Now to be completely honest, I am not sure I even paid $12 for the jacket when I bought it, so spending $12 plus shipping just seemed too high to me!
Alternative Places to find Replacement Zippers
I was determined to fix this jacket as cheap as possible and now I had a goal to do it for less than $15 dollars.
First, I checked our closets to see if I had an old coat that we never wore anymore that was the right size zipper. Unfortunately, I was not able to find one that was the right size.
Next, I remembered that our local Goodwill has $1 Mondays on certain tag colors every week. I grabbed my flexible fabric tape measure and went to Goodwill the next Monday.
Now zippers don’t have a male or female difference, so I checked mens coats, female coats, vests with zippers, and pretty much any section in the store that may have something with a zipper.
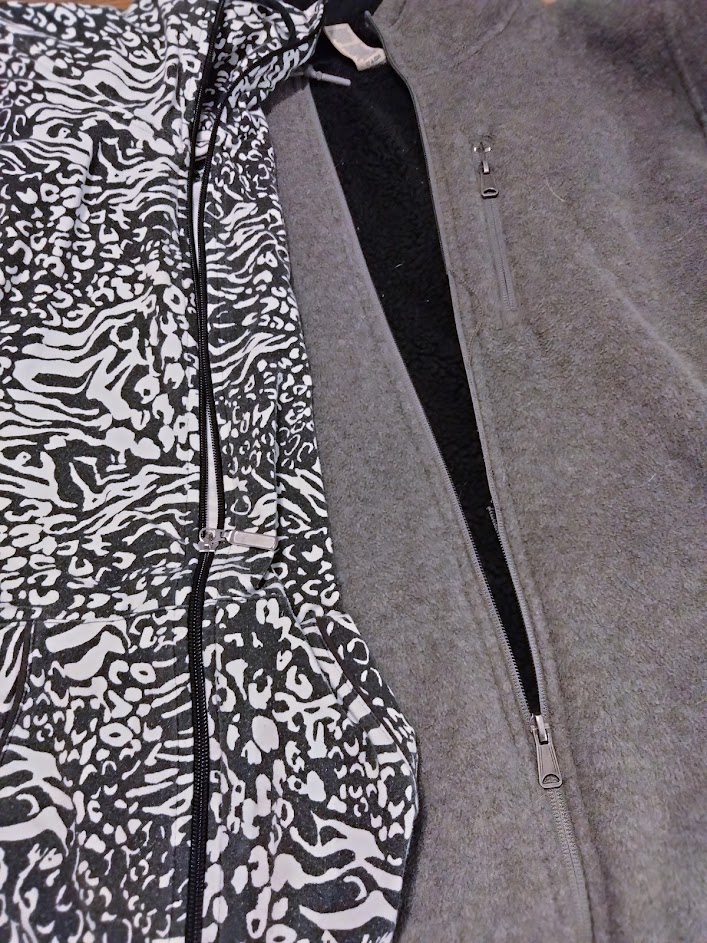
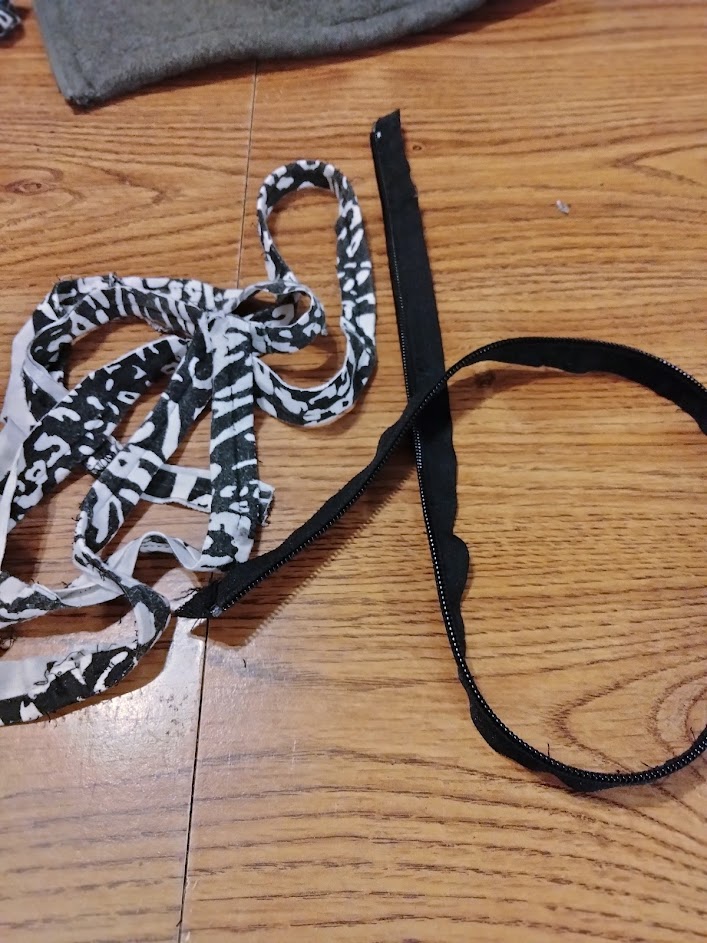
I finally found a not so cute women’s jacket that had a zipper that was 28 inches long for $1. Jackpot! The original zipper is gray, and the new zipper is black, but I didn’t care. It may be more difficult to find an exact color match, but you can probably find something close if you are willing to keep looking. Be honest though, how often have you really looked at the zipper on a jacket?
Steps to Replace a Continuous Coil Zipper on a Jacket or Coat
Step One: Remove the Replacement Zipper
On the jacket that we are using for parts, I cut about an inch away from the zipper so I could expose the seams that were holding it in place.
Be careful to not cut the zipper itself because we will need the edge. I probably could have cut closer but I didn’t want to take the chance of ruining the zipper. We really just want to be able to see the inside of the layers so we can take it apart.
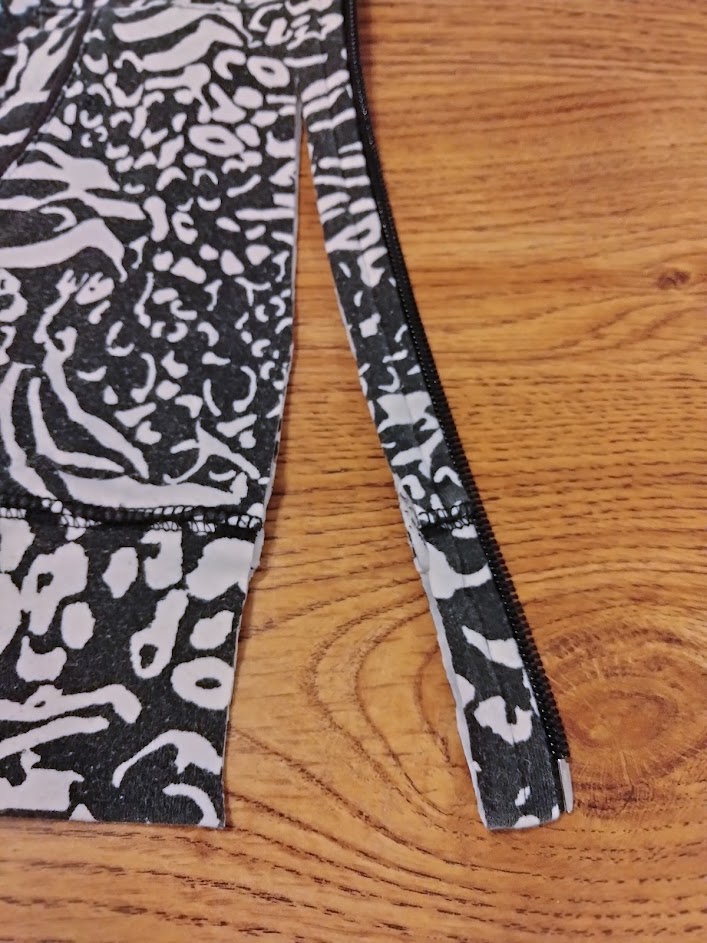
Pro tip: Only the right side of the zipper is missing teeth on my favorite jacket, so I started by cutting the zipper out of the replacement jacket on only one side. If you get lucky you may only have to replace one side of the zipper so the repair time will be cut in half!
Step Two: Removing the Stitches in the Replacement Zipper
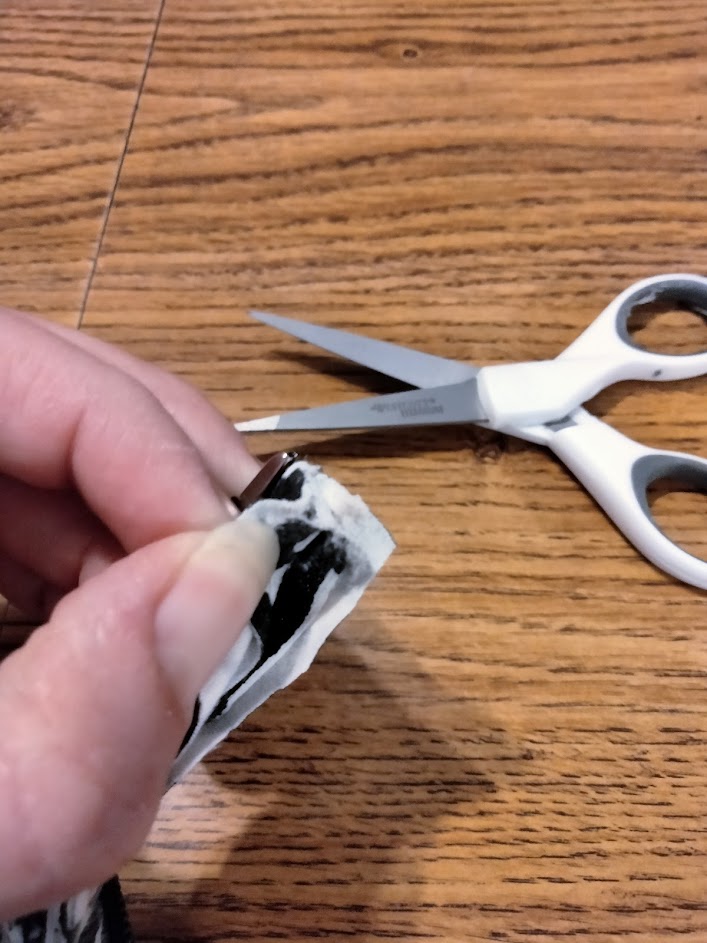
Once the replacement zipper was off the parts jacket, I very carefully cut the edge of the seam so I could open the layers.
Now we will use a seam ripper to remove the stitches that are holding the zipper in place.
This needs to be done in good lighting because the stitches are usually in the same color as the jacket. In this jacket, the stitches are in black on a black zipper, so it was very difficult to see. Sometimes it is easier to do this in bright natural light.
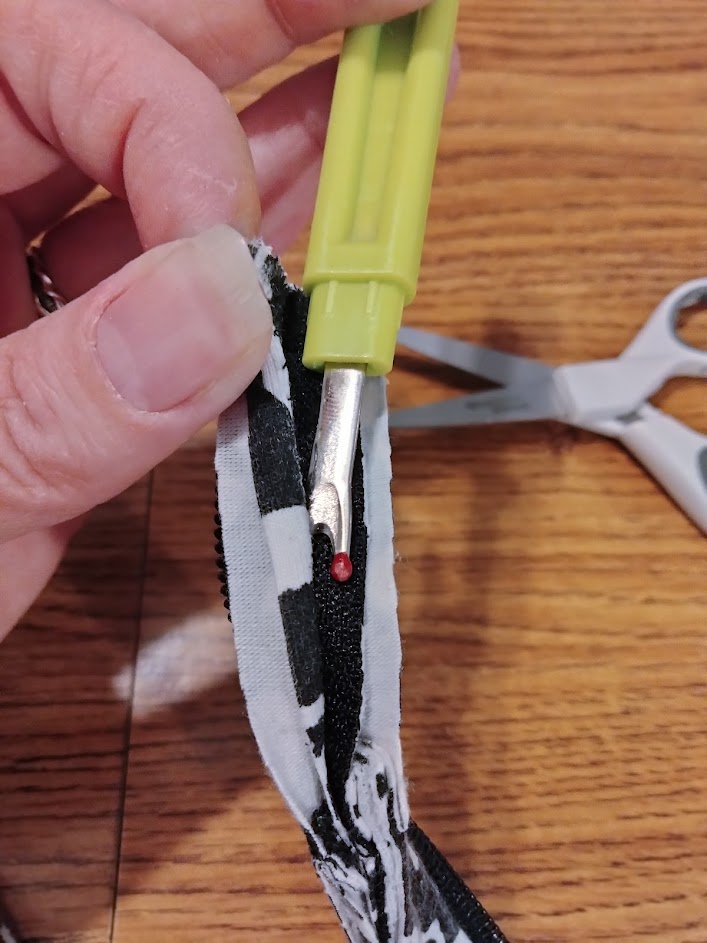
I like to use my fingers and pull apart the seam as much as I can because it makes using the seam ripper easier. You just need to pull a little bit so you can create a small hole in the layers to get the seam ripper started.
I suggest doing this very slowly, because if you go too fast and end up ripping the fabric it will take you twice as long to remove the tiny bits of fabric from the zipper. Also going slow with the seam ripper will ensure that you don’t accidently ruin the zipper.
This jacket had two seams going the whole length of the zipper holding it in place. So, I worked on the seam furthest away from the zipper first for a couple inches, and then worked on the one closest to the zipper for a couple of inches. I kept repeating this until I was able to fully remove the black zipper from the parts jacket.
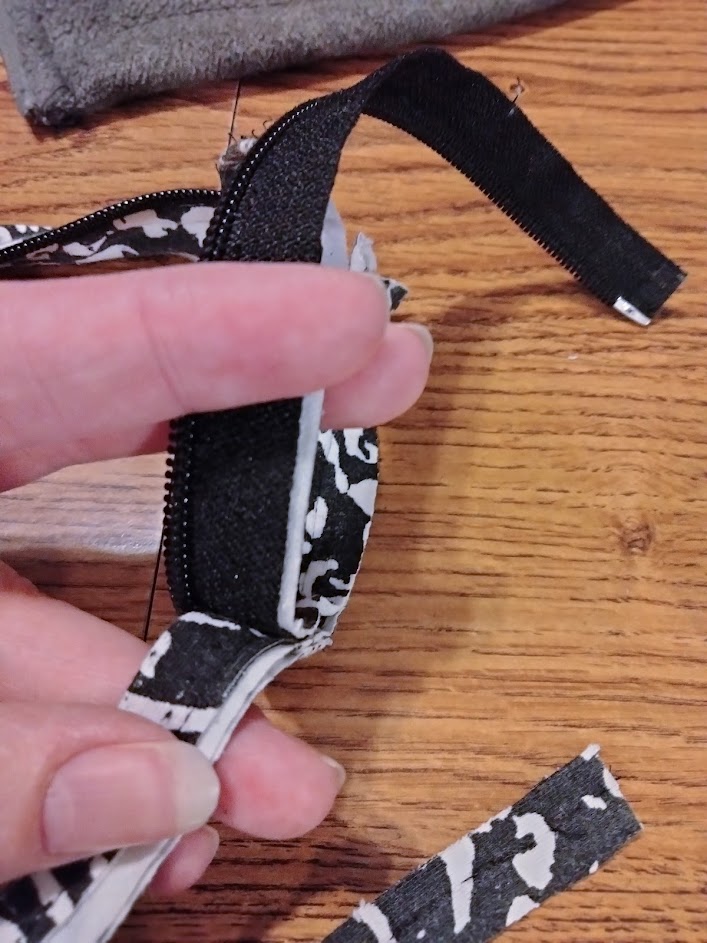
Once you completely remove the stitches, the zipper with edge should be easy to pull apart from the layers in the old jacket.
Step Three: Removing the broken continuous coil zipper
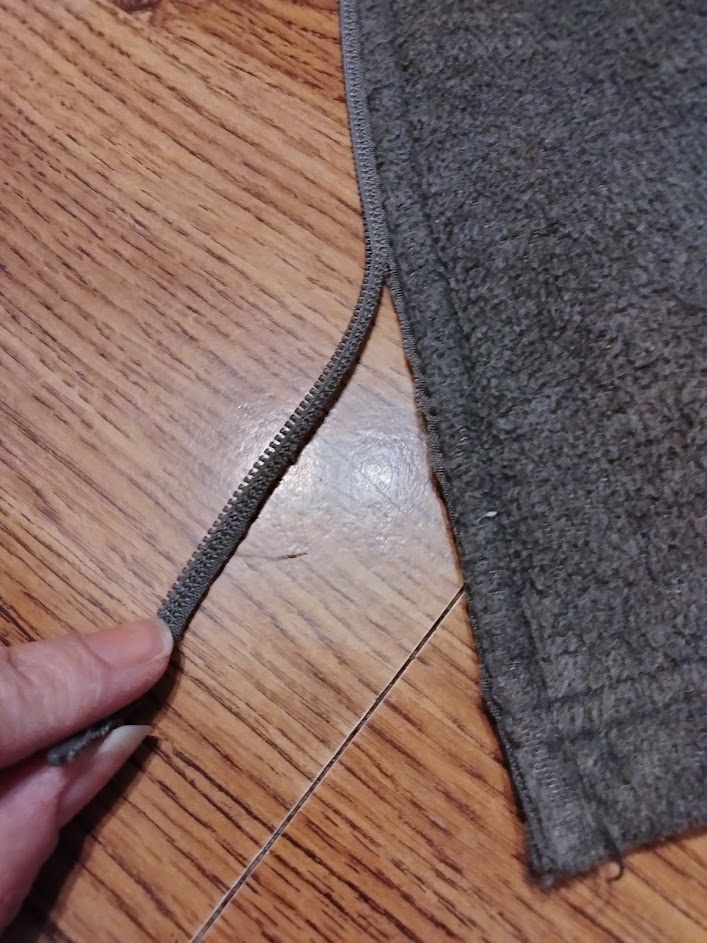
The jacket that I am trying to fix is made with double fleece and is very thick. This thickness of the fleece means it would be very difficult to remove the stitches holding the broken zipper. The fleece could also potentially unravel and fray when I took the broken zipper out, so I opted to cut the old zipper off.
I used scissors and carefully cut the old teeth off, but also left a good amount of the zipper edge fabric still on the jacket. That zipper fabric will make an excellent guide when it is time to put the replacement zipper on!
Step Four: Sewing in the Replacement Continuous Coil Zipper
Now I got very lucky that the jacket I was using for parts was also a continuous coil zipper, but you could use a zipper that has individual teeth and just replace both sides.
At this point, I tested the zipper pull by using the old half of the broken zipper and the new half of the replacement zipper. It zipped up and down so smoothly that I was able to just replace one side of the zipper.
If the two sides do not zip smoothly, you will need to repeat steps two and three, to remove the other side of the replacement zipper.
I added some pins just to keep the zipper in line, but if you sew slowly with your sewing machine, you don’t really need them.
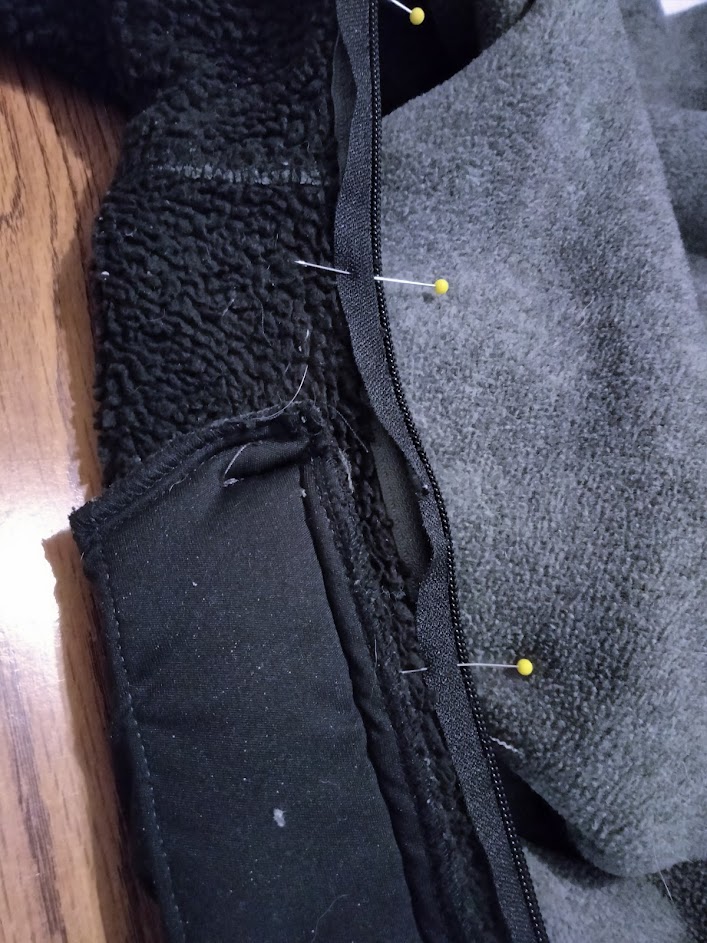
Remember earlier when I said that my original zipper was actually 27 3/4 of an inch? Well, the new to me zipper is 28 inches, so I positioned that little extra zipper a little at the bottom and the top.
If the new zipper is a lot bigger, you can cut the top off and use a lighter to slightly melt the edge, so it doesn’t uncoil.
I used a heavy-duty needle in my sewing machine because of the thickness of the jacket. Going very slowly, I just sewed a straight line up the jacket on top of the old zipper edge.

Even though one side of the zipper is gray and the other side is black, you can’t tell when it is zipped up. I could have done a better job when I trimmed the old zipper off, but overall it is extremely hard to tell when you are wearing the jacket!
Saving Money by Repairing Damaged Clothing
It is still the beginning of winter right now, and if I had chosen to buy a new jacket, I would have been buying at the height of the season when jacket and coat prices are very high.
I believe I only paid about $6 for this coat originally because I picked it up at an end of the season clearance sale. It normally costs about $30-50 to buy a cheap coat in the middle of winter.
So, with a little outside of the box thinking, I was able to spend $1 to replace the zipper and have a coat that will not only last the rest of this winter, but probably for the next few winters!
Is the drawstring also broken or missing on your jacket? Check out “How to fix a drawstring for under $2.00 (no sewing required)” for a super easy fix!