DIY Bible Cover (Upcycling Mens Shirt)
Sometimes the most sentimental items are just not in a state that you can continue to use them. This is where upcycling comes in handy!
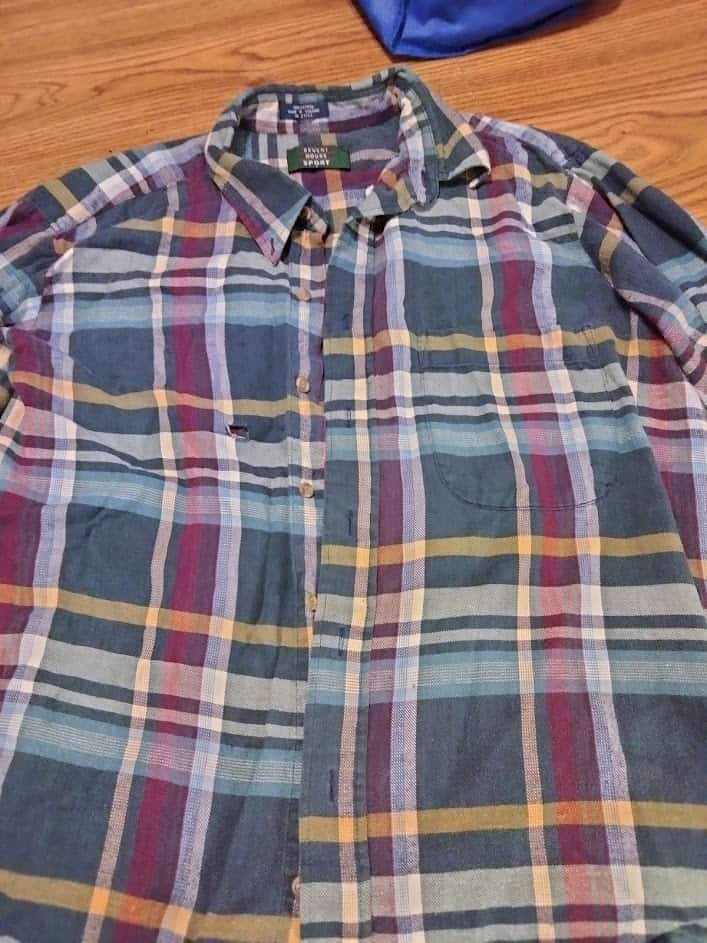
Upcycling is taking items that would normally be thrown away and making them into something useful again. In this case we will take a men’s button up shirt with a hole in it and transform it into a bible cover. This shirt holds sentimental value because it is from a passed loved one, and now it can be used all the time!
Supplies Needed for Upcycled Bible Cover
We are all about low-cost projects and this one is no different. The supplies needed for this project is simply a sewing machine, Pellon interfacing, and the button up shirt or other piece of clothing.
Pro Tip: if you plan to do a lot of craft projects with Pellon interfacing, it is always cheaper to buy it by the bolt. If you’re not going to do that many projects, check out the by the yard option or the 3-yard packages.
Bible Cover Tutorial
The first step to this DIY Bible Cover is to measure your bible. In this project my bible measures 12.5 inches wide by 9 inches tall. To get the most accurate measurements, open the bible half way and lay it flat. Take your measurements from across (wide) and then from top to bottom (tall).
Now we are going to add 1 inch to each of our measurements, so my new total is 13.5 by 10 inches. The first part of this tutorial will go over how I break down this men’s shirt to get my pieces needed for the bible cover.
The complete list of pattern pieces that I will need for this project is:
(2) 13.5 x 10 inch rectangles
(2) 13.5 x 4.5 inch rectangles
Breaking down the Clothing
Breaking down the clothing is the hardest part of upcycling! You have to look at the clothing in its full form and be able to “see” where you can get your pattern pieces.
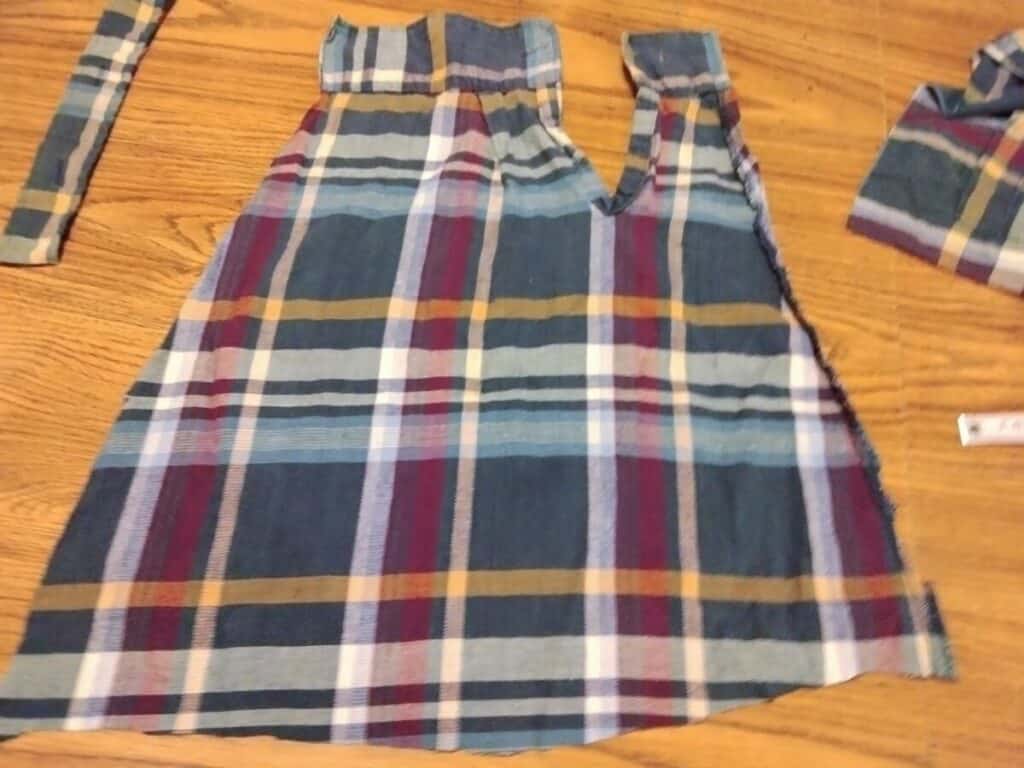
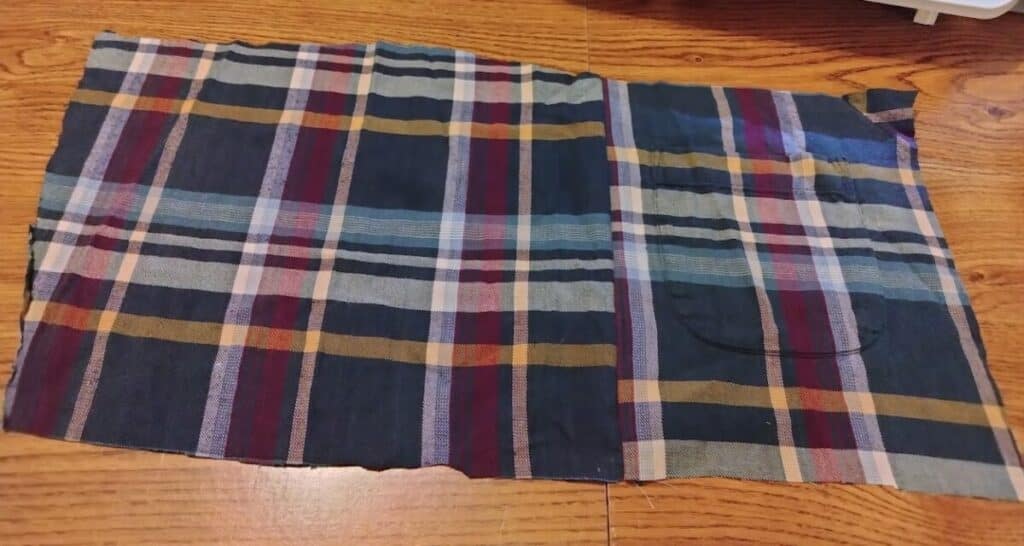
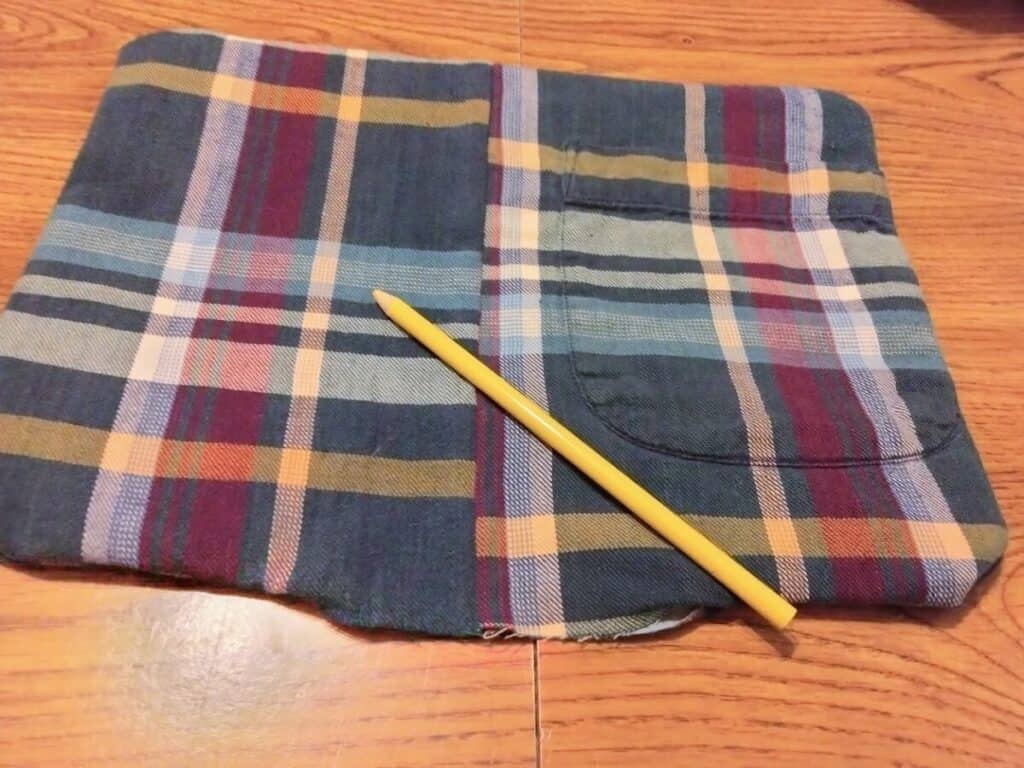
To start, I know that I want to keep this pocket on the chest for the front of the bible cover.
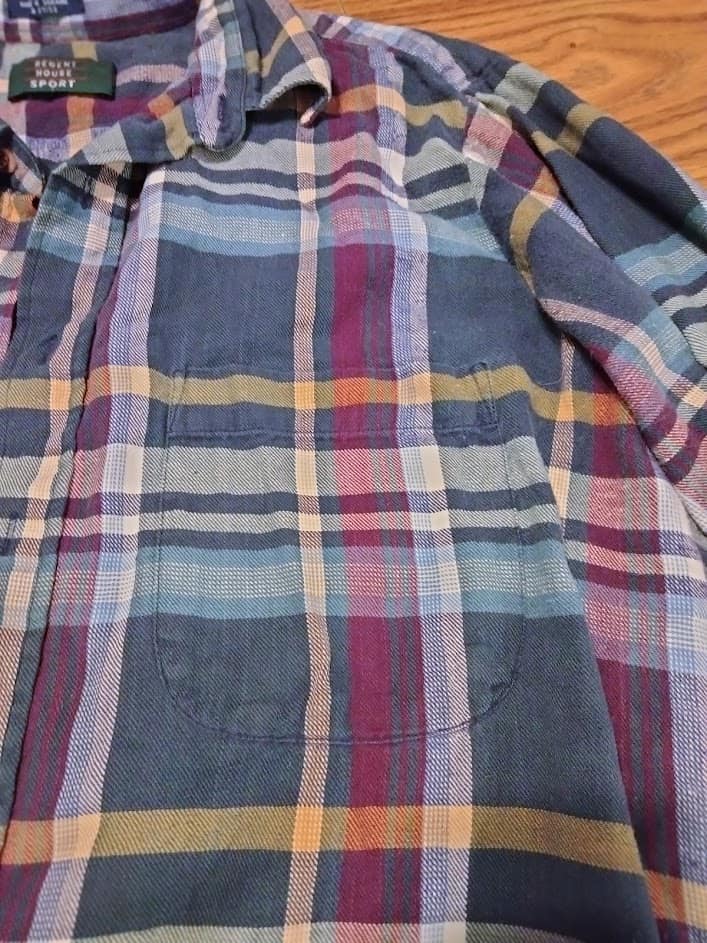
I started out by cutting up the side seam from the bottom up to the armpit and then across the sleeve. This gave me the start that I needed to lay this pocket flat, so I could make better cuts.
When you are breaking down a shirt, you are taking away the seams, buttons, and anything else that will interfere with flat workable fabric.

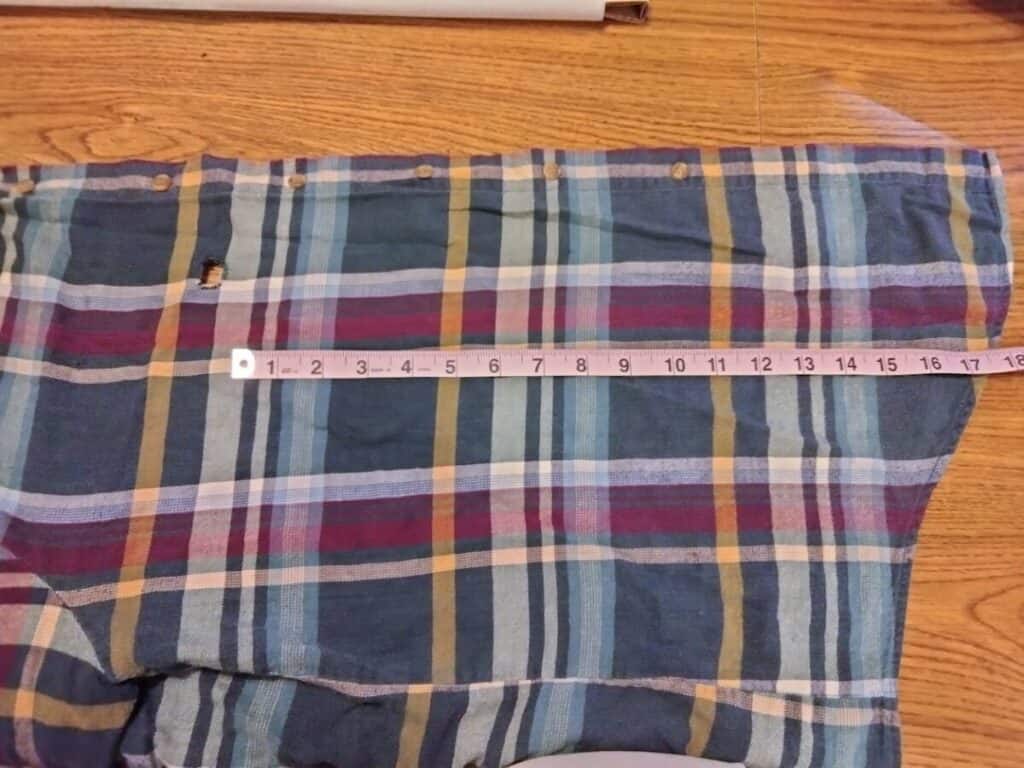
Next, I need to remove the raised buttonholes and the excess fabric to have a smaller section. I obviously don’t have enough fabric in this panel to equal 13.5 x 10 inches, so I am going to combine pieces to make my first rectangle pattern piece.
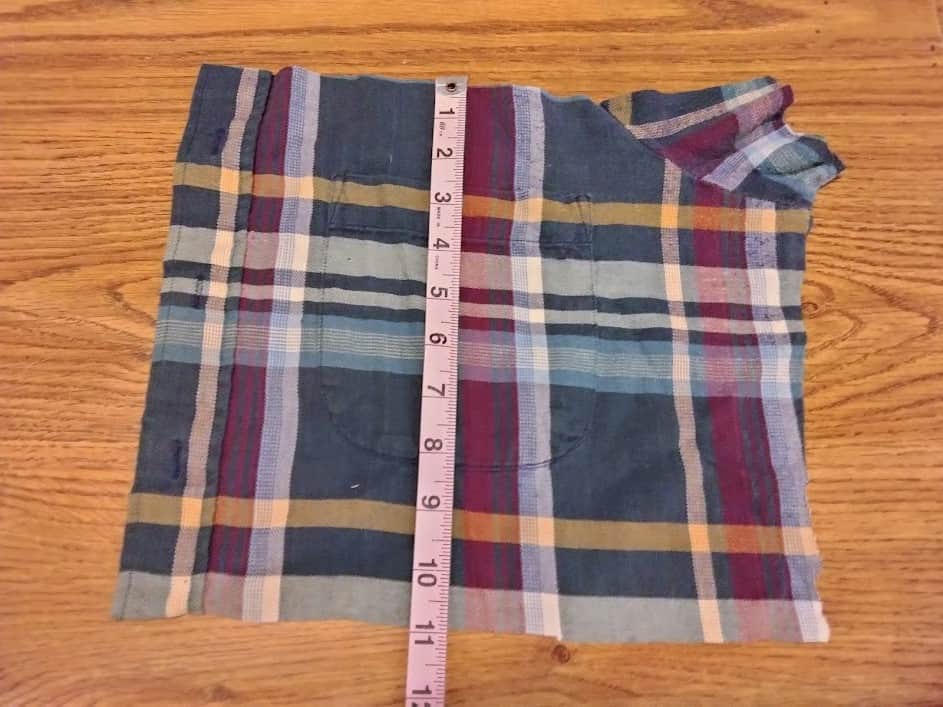
As I am cutting away fabric, I am mindful of my measurements that I want, so I constantly measure before I cut away more fabric.
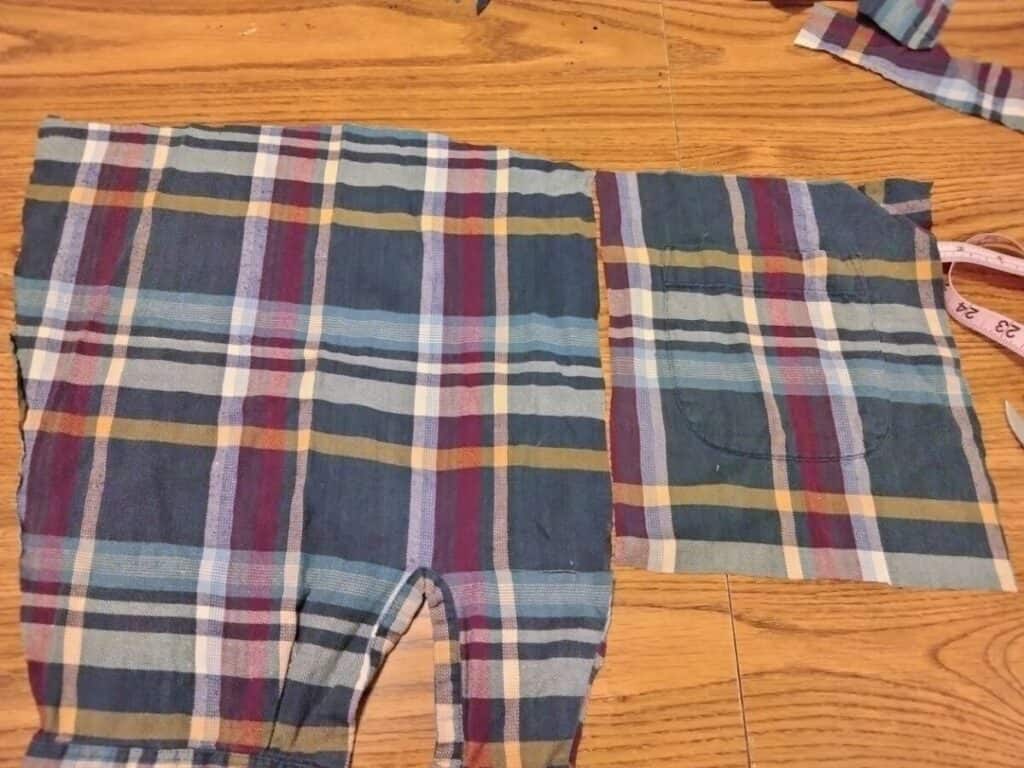
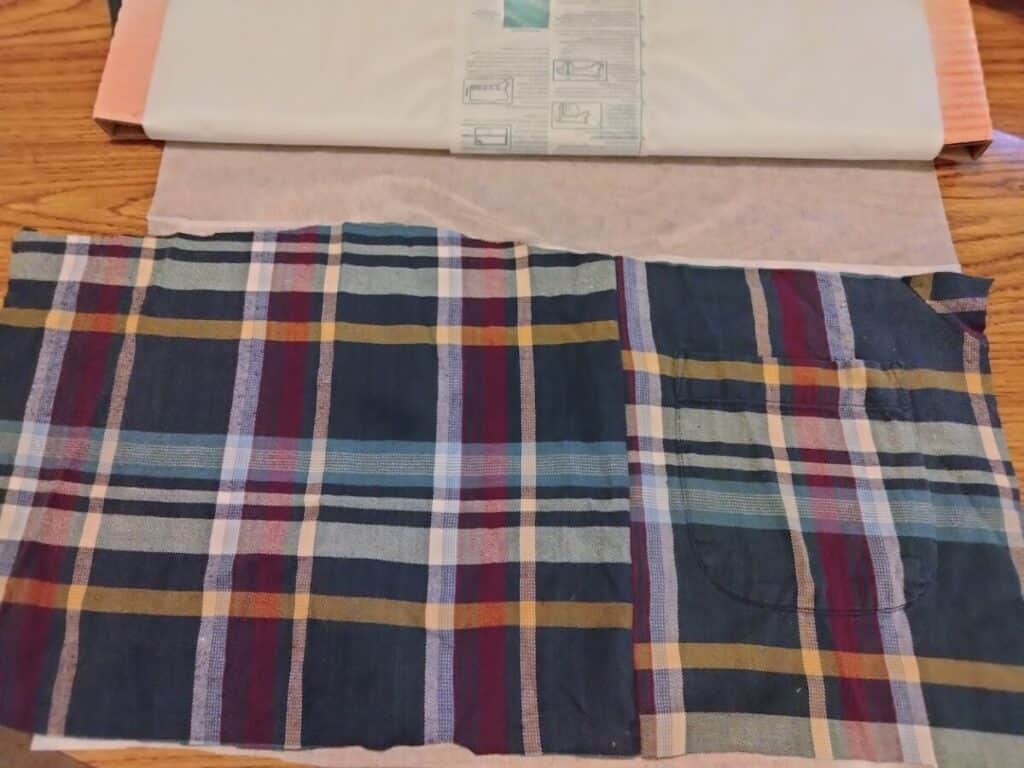
To make up the fabric I need for this rectangle piece, I take the sleeve that I cut off, and open it by cutting up the center seam.
Now I am going to try to match up the plaid pattern on the sleeve to the plaid pattern on my pocket piece. This doesn’t have to be perfect since the seam will be on the spine of the bible cover, but it would look better it the plaid pattern flowed nicely.
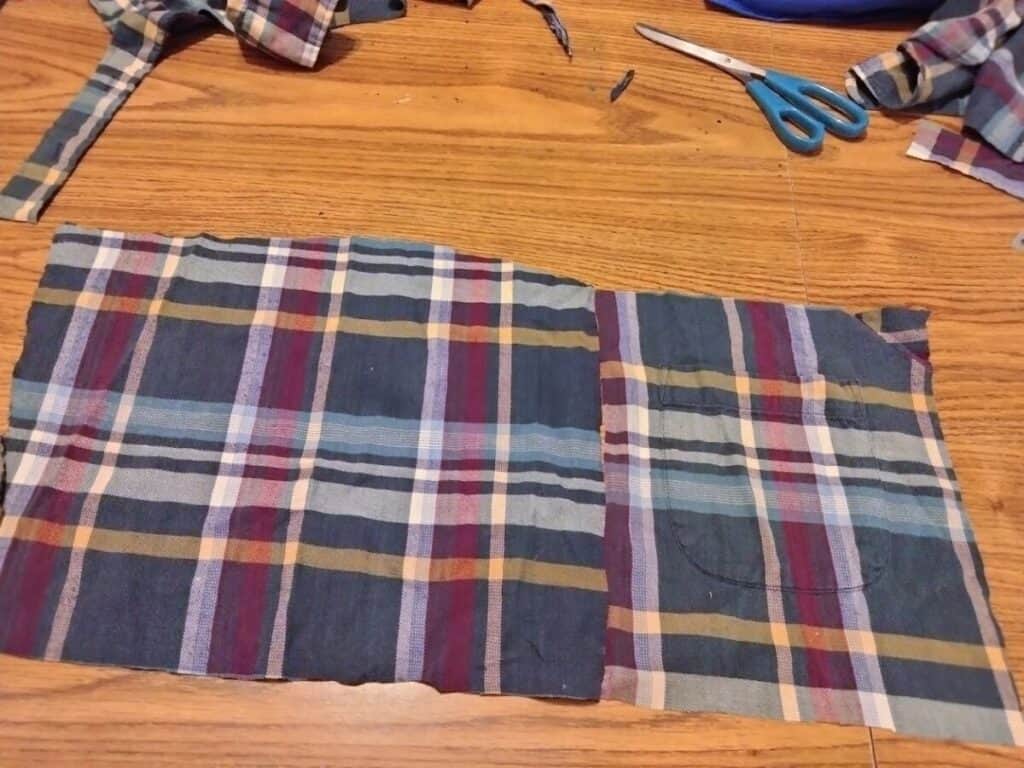
Once I trim up the jagged edge from the sleeve, I can see a nice straight line to combine these two pieces to make my first 13.5 x 10 rectangle.
I will go ahead and trim the sleeve piece down so that it is about the same size as my pocket piece.
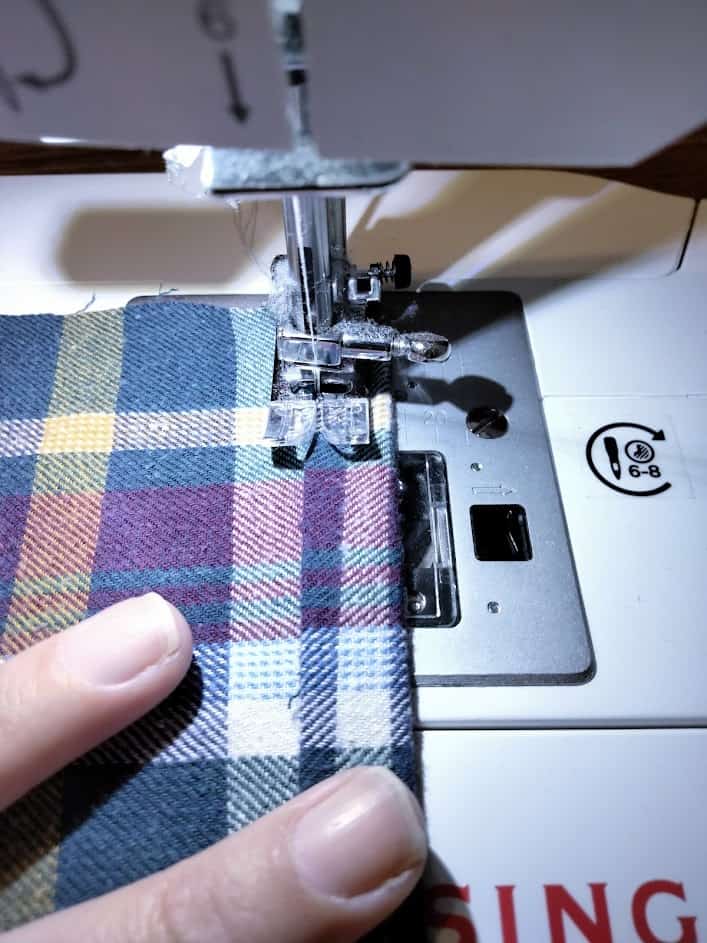
This shirt is made of flannel and is sometimes tricky to sew, so I pinned it about every inch to make sure it doesn’t try to shift on me.
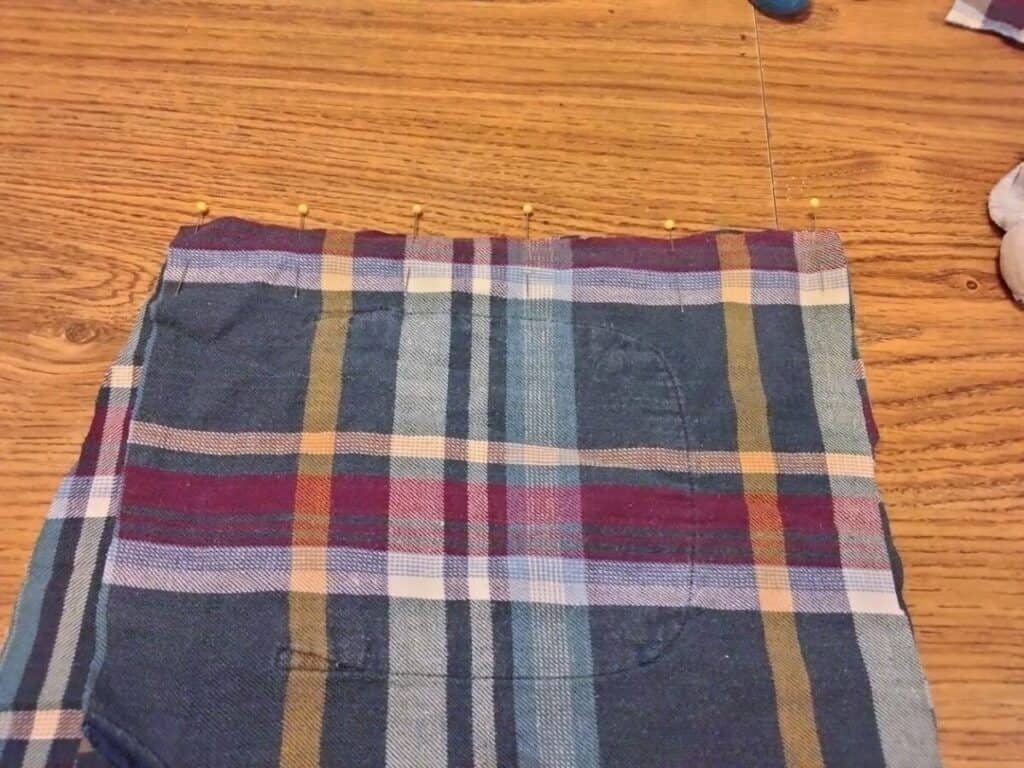
Once it is sewed together, I can iron the seam flat, so it is not as bulky. Check the setting on your iron for whatever fabric you are using. As you can see, I didn’t match up the plaid design perfectly, but in general all the stripes are going in the same direction.
We now are very close to our goal of getting a rectangle that is 13.5 by 10 inches! At this point, I will go ahead and apply the Pellon Interfacing with my iron.
Depending on the clothing that you use for this project, you may want to skip this step. For instance, if you are using a cotton dress with little to no stretch, the interfacing won’t be needed. If your fabric is super soft or shifts easily in your fingers, then adding interfacing will make it easier to sew.
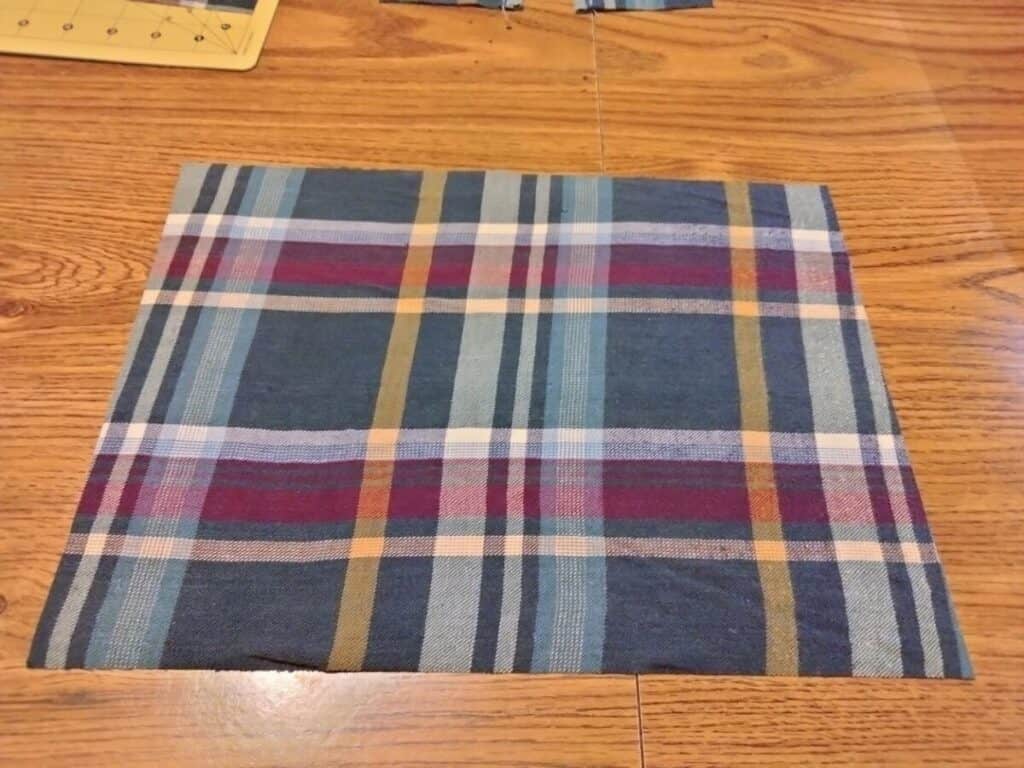
Now we move on to the 2nd 13.5 x 10 inch rectangle. This 2nd piece will actually be the inside lining of the bible cover, so I am not being super picky about the plaid design. I am going to use the other half of the button up front of the shirt. (avoiding the hole)
I can see that I easily have enough fabric to get my whole rectangle pattern out of this piece without having to combine pieces. If you don’t have a pocket or embellishment that you are trying to keep, you can easily use the back section of a button up shirt.
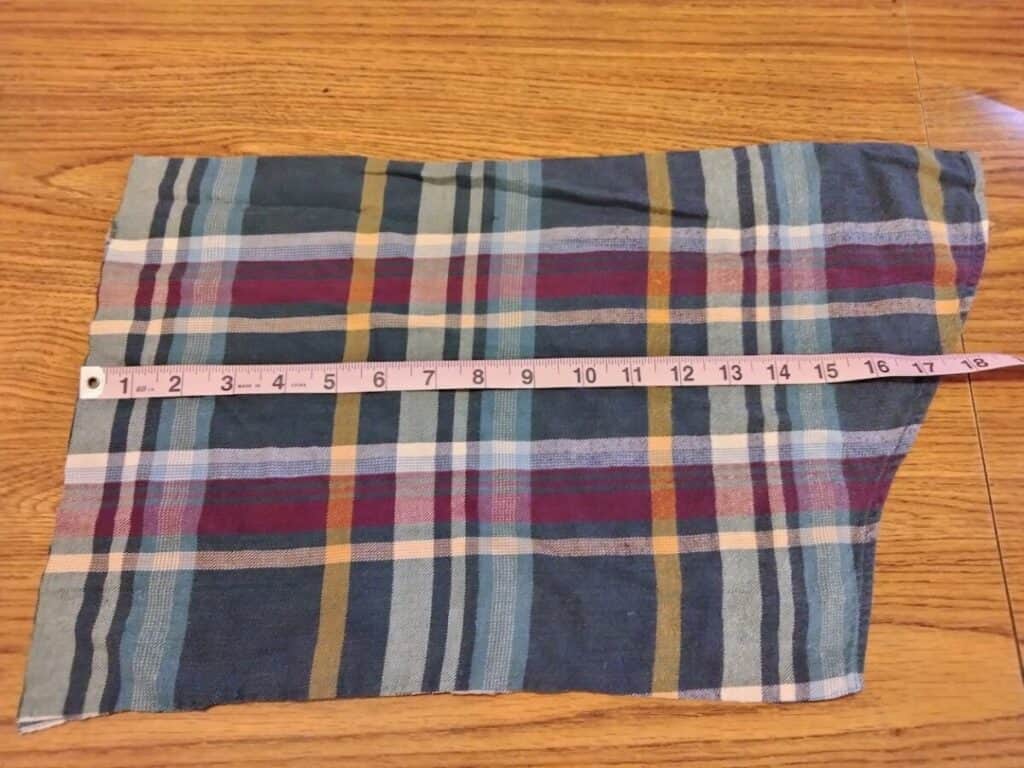
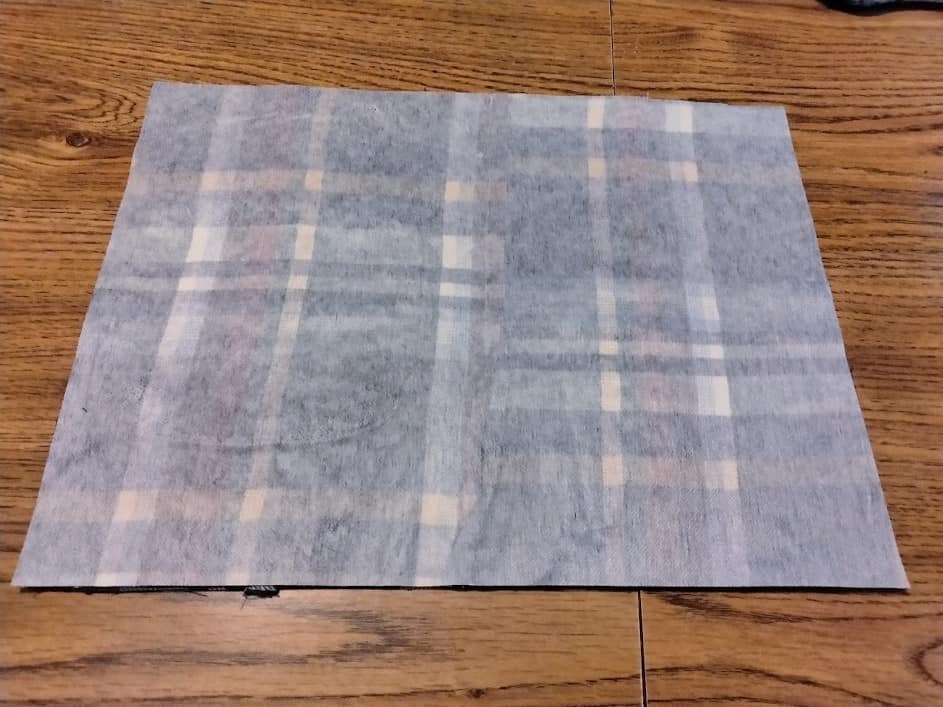
I will keep trimming down each side of this piece of shirt until I end up with a rectangle piece that is a little bit bigger than my needed measurements of 13.5 x 10.

I am going to add interfacing to this rectangle as well so that when I sew my pattern pieces together it doesn’t shift on me.
The last pattern pieces to cut are much smaller at 4.5 x 13.5 inches, so I will use a ruler and rotary cutter to cut fabric pieces. I don’t need interfacing on these because I want them to be less stiff. They will become the pockets that hold the front and back of my bible.
I used the ruler and rotary cutter to cut my bigger interfaced fabric into the 13.5 x 10 inch rectangles that I needed. When cutting the piece with the pocket, I wanted the pocket as close to the edge as possible but still left about 1/4 inch room to sew on.
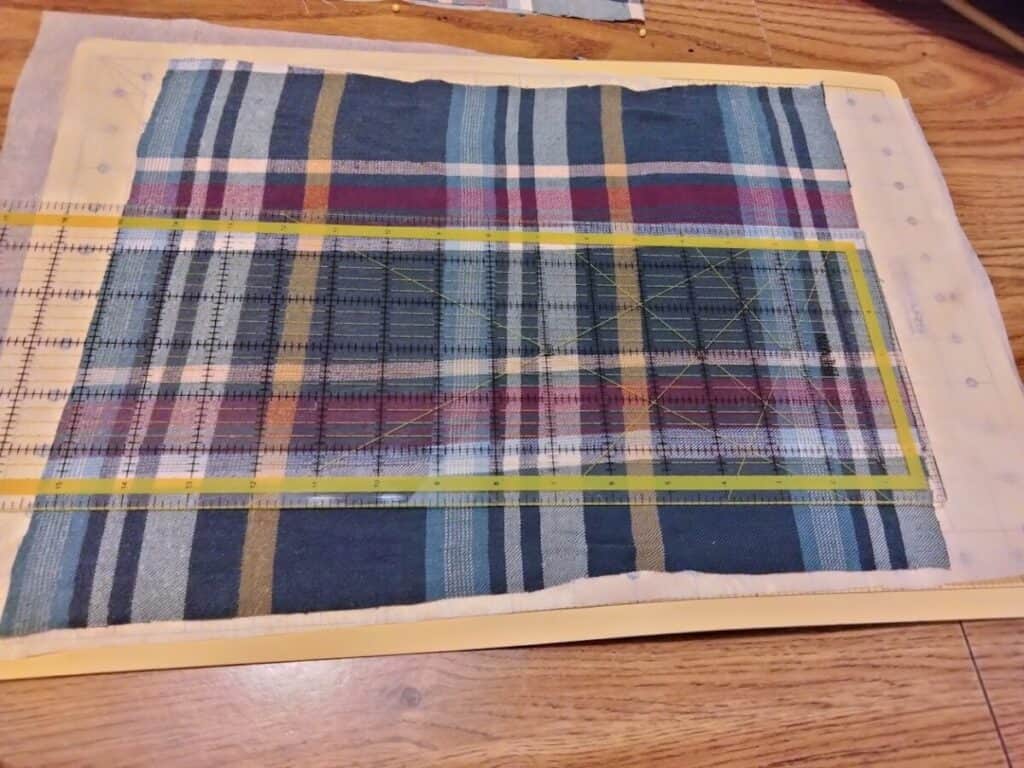
Why don’t I just cut the pieces to size first and then apply the interfacing? I have found over many projects that cutting the fabric to size before interfacing always ends up with them not quite the right size. It is so much easier to use a rotary cutter to cut my pattern pieces after the fabric has interfacing on it!
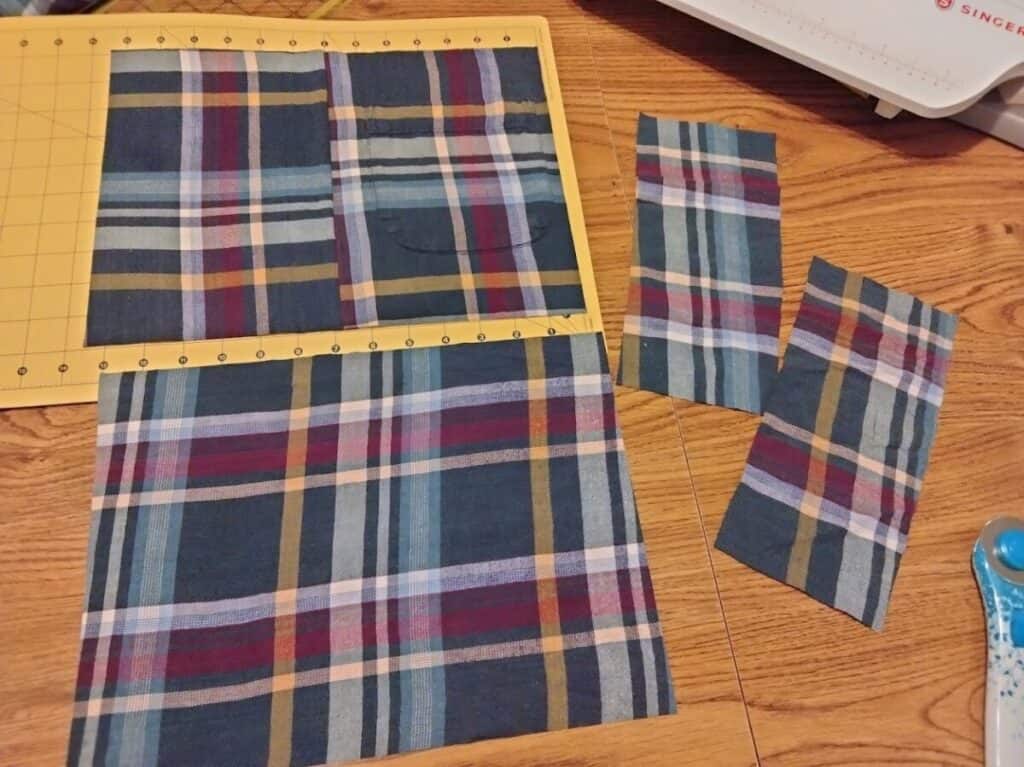
Here are all my completed pattern pieces for this project: (2) 13.5 x 10 rectangles and (2) 13.5 x 4.5 rectangles.
The longest part of this project is cutting out the fabric. Once you have all your pieces, the sewing part is super quick!
Sewing the Bible Cover Together
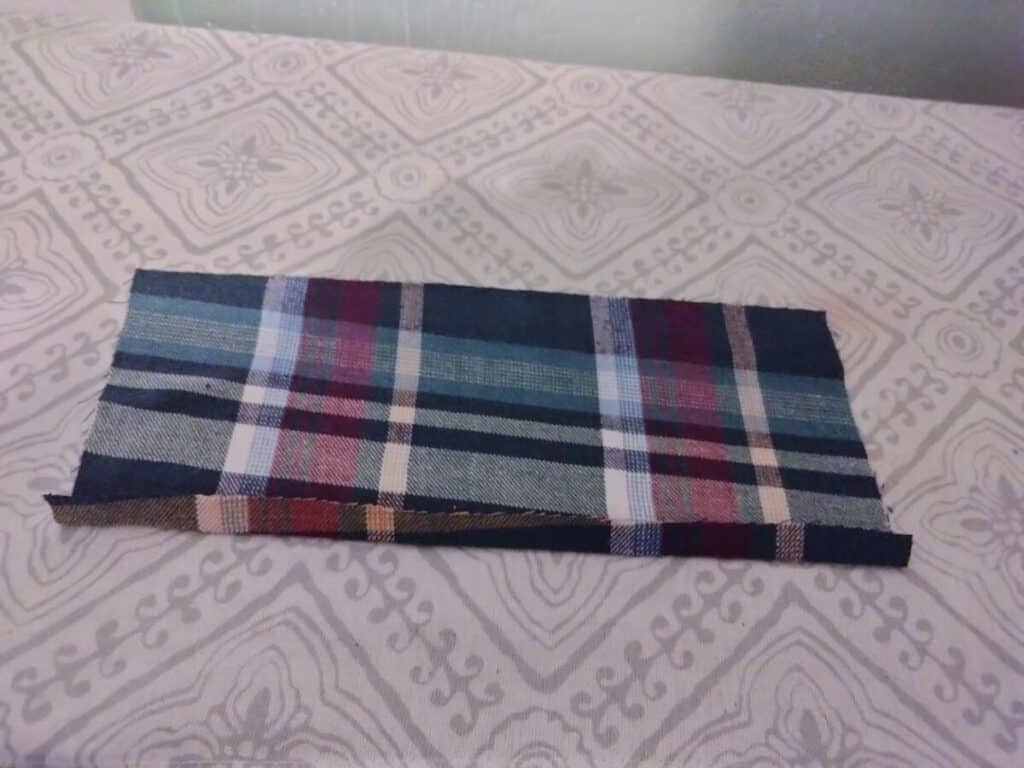
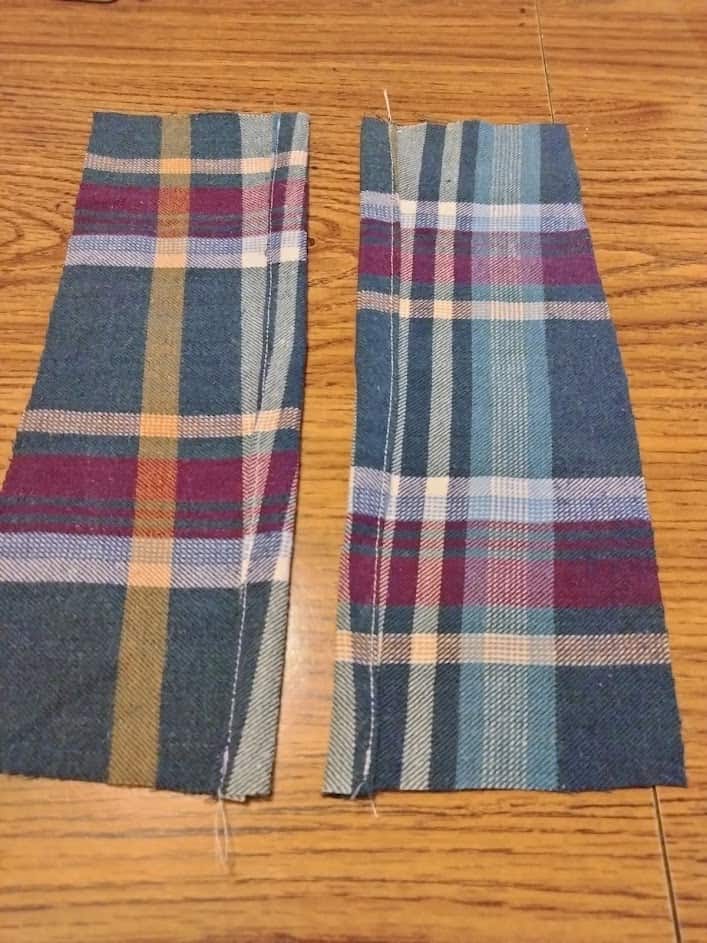
The first part of sewing the bible cover together is to prepare our little sides that will fit the outside cover of the bible. I picked 4.5 inches because I wanted a finished pocket of about 3.5 inches.
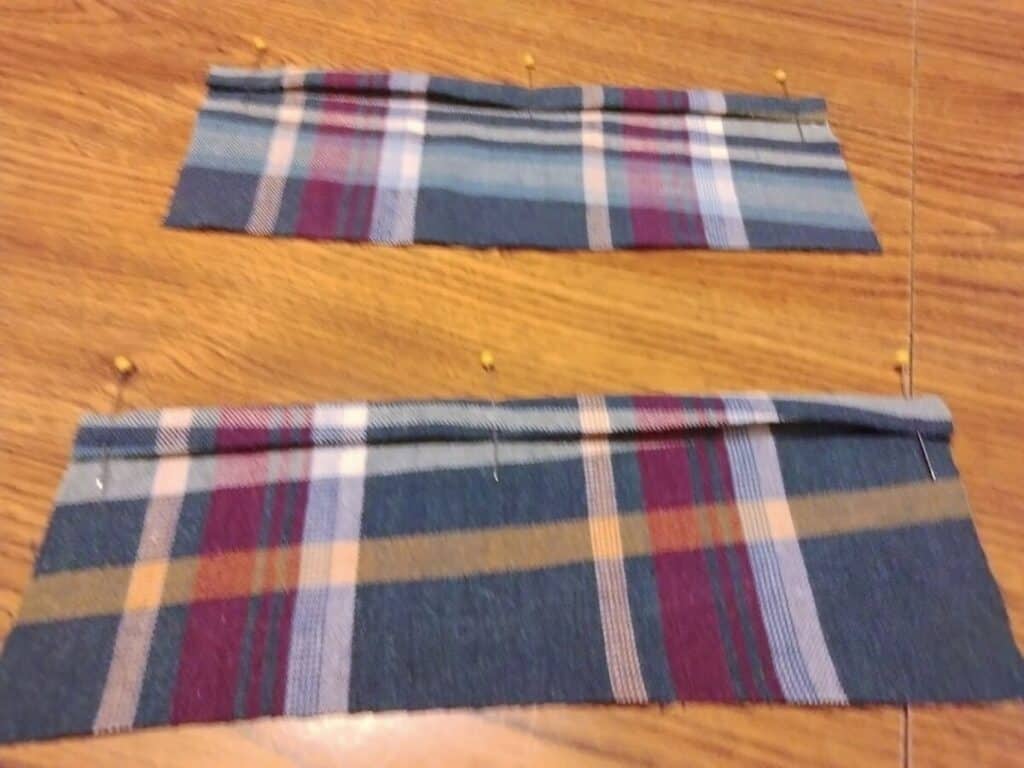
We take each of the 4.5 x 13.5 rectangles and we fold over about a 1/4 of inch on the long side, and then fold over again, so we have a nice thick edge.
Each time I folded over the fabric; I used an iron to set my seams, so it doesn’t unroll. Then I pinned up the folded part about 1-2 inches apart.
Now I can go over to my sewing machine and sew as close to the edge of the folded over part as possible. My goal is to tack down the fold and make a nice edge.
Since these pieces don’t have interfacing, just sew really slow so the fabric doesn’t try to move and shift while it is under the needle.
I am using basic white thread because it blends in well and because I only like to use white and black thread. If you want to color match your thread, that is fine, but I find buying thread in every color possible ends up costing a lot of money. I rarely ever use up all the different colors when I sew, so it makes projects cheaper if I only use black or white thread.
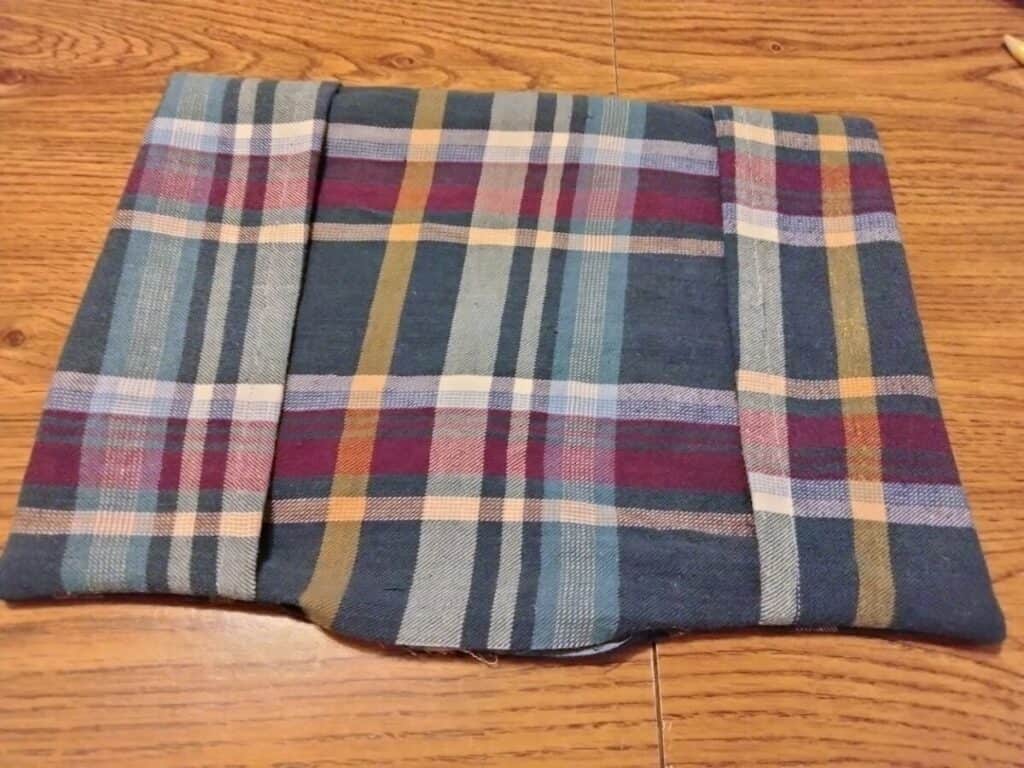
This next part is what I call a bible cover sandwich, because we are going to put all our pieces in a specific order and sandwich them all together.
First, start with your lining fabric, for me this was my plain plaid 13.5 x 10 rectangle, and have this piece facing up!
Next, we will add our smaller pieces of 13.5 x 4.5 pieces, and we want them to face upwards. So you will see your nice finished edges on top.
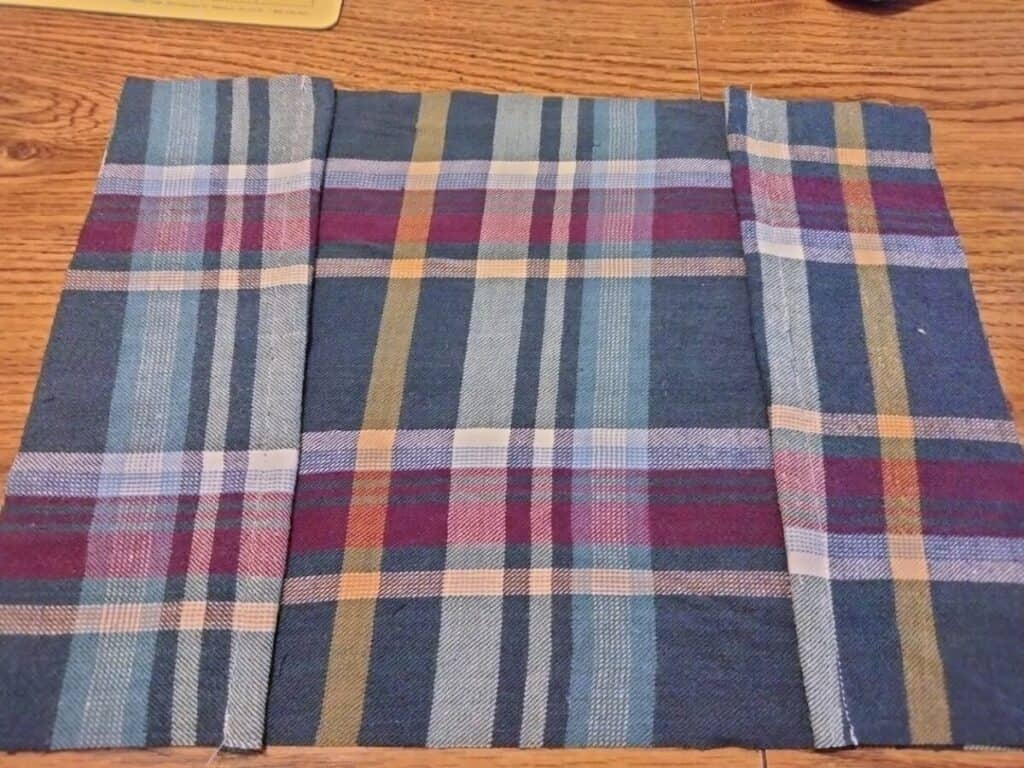
Lastly, we will top our bible cover sandwich with the outside piece of the fabric that has our pocket. You should just see the interfacing on the top of the sandwich.
Even though we have the interfacing, I am still going to use a lot of pins to keep these pieces from moving. I like to make sure I have pins in the spots where the edges of the smaller pieces are and at the corners.
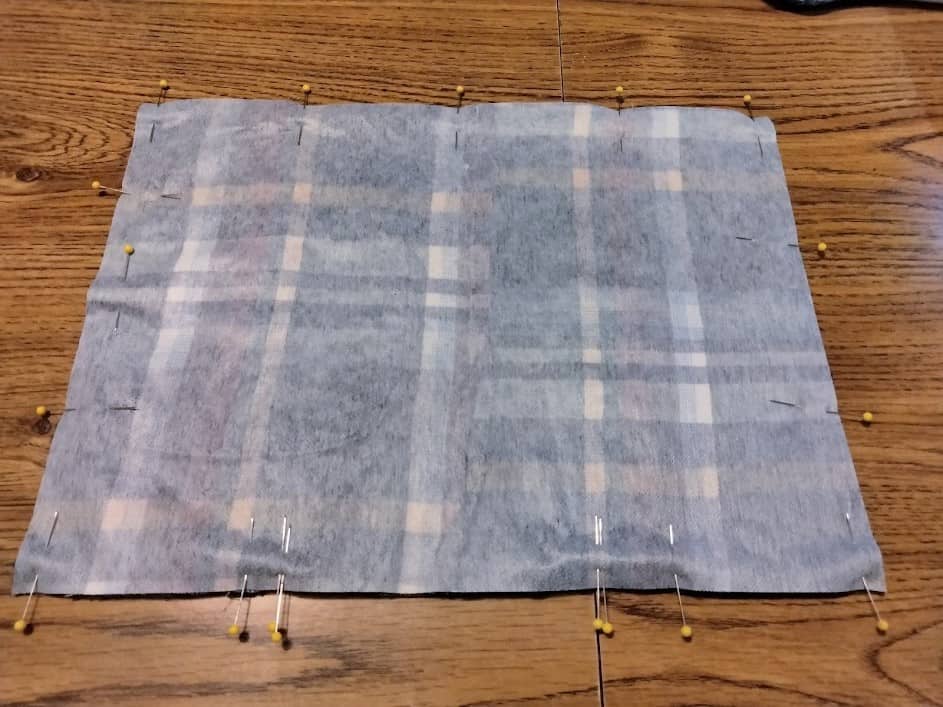
On the left side of the pocket, I added a pin going vertically to remind myself where the pocket begins. I don’t want to accidently sew on the pocket, so this will help me know exactly where I should be sewing.
I also put double pins at the bottom where I want to start sewing and where I want to end sewing. I don’t always get to do projects in one sitting, so I like using this method to remind myself later where I should be sewing.
Using your sewing machine, sew all around the edge of your bible cover sandwich, but make sure to leave an opening on the bottom, so we can turn it inside out. I also make sure my opening is between the two small pieces, so I make sure those are sewn down well.
When I sew my corners, I over shoot where I want my seam to be, so I will have an nice x at every corner. This is personal preference to reinforce the corners. If you want to just sew and raise your needle at the corners to change directions, that is totally fine.
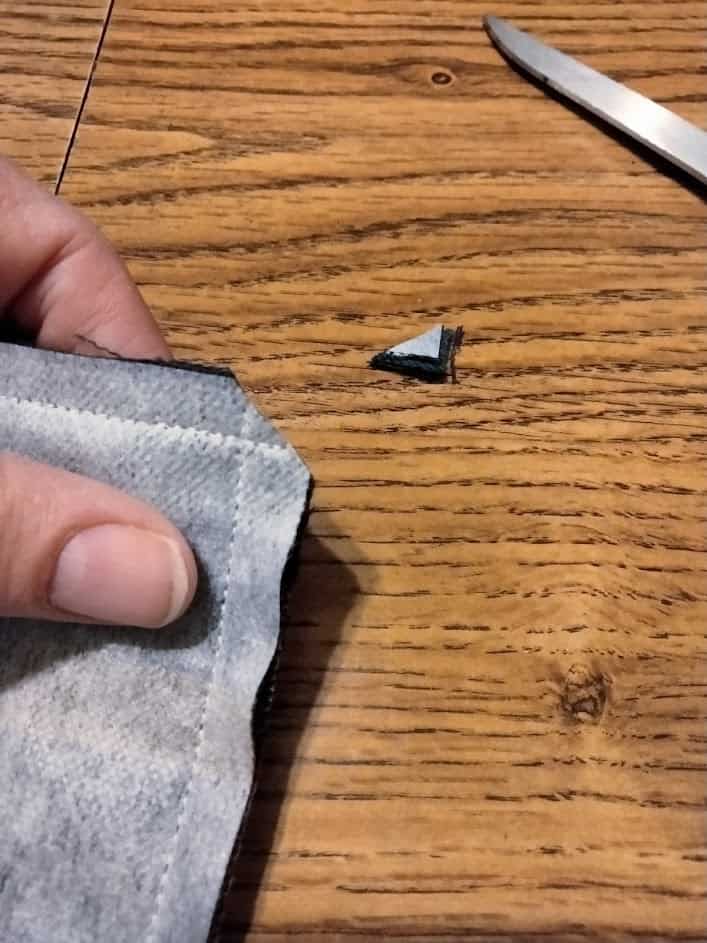
After sewing the outside edge, use your scissors to snip your corners. Make sure not to cut through any of the thread that you have sewn. This will help your corners come to nice sharp points.
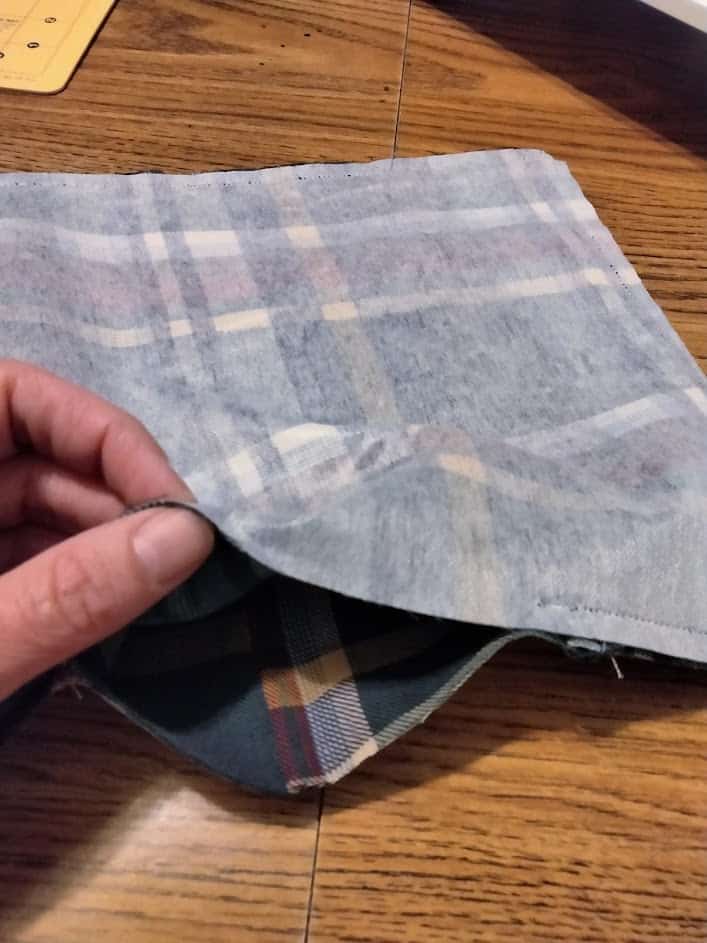
Now we can turn our bible cover right side out. I stick my whole hand in the opening and pull the corners out and gently pull all the rest of the fabric out.
Once the bible cover is right side out and you make sure that your little side pieces are facing the right direction, we need to poke out our corners. This step makes the corners nice and sharp. I like to use a dull colored pencil for this process because it won’t damage or poke holes in my corners.
At this point, I will use my iron again to flatten the bible cover. I also will fold over the edges of my opening, so they are flush with the rest of the seam on the bottom of the bible cover.
I switched my thread over to black so I can sew across this opening, and it won’t be as noticeable as if I used white thread. I sew pretty close to the edge of the opening to make sure I catch both sides of the fabric.
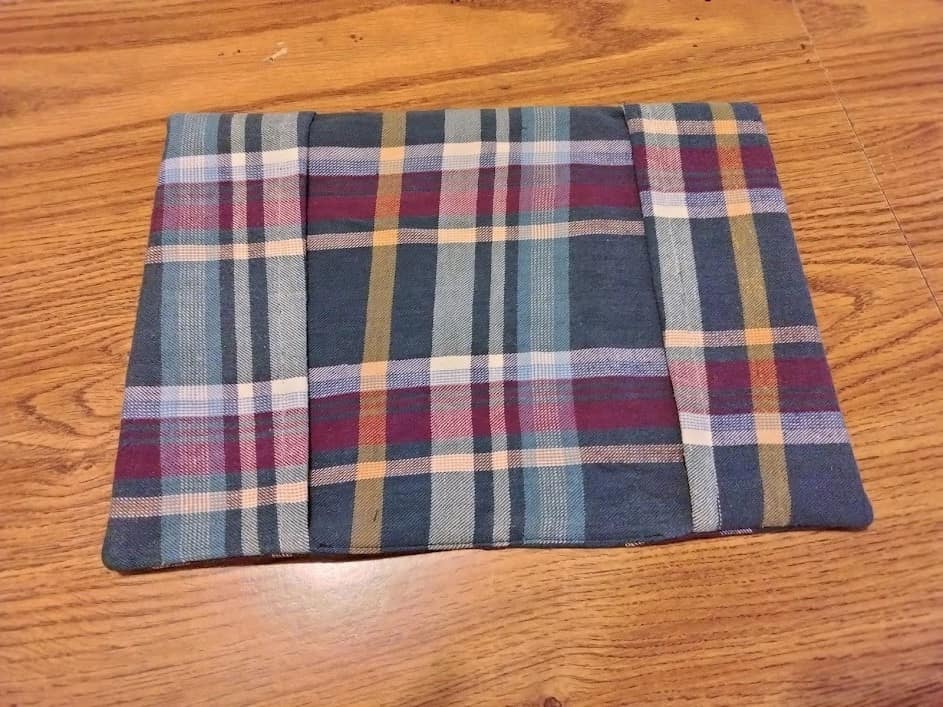
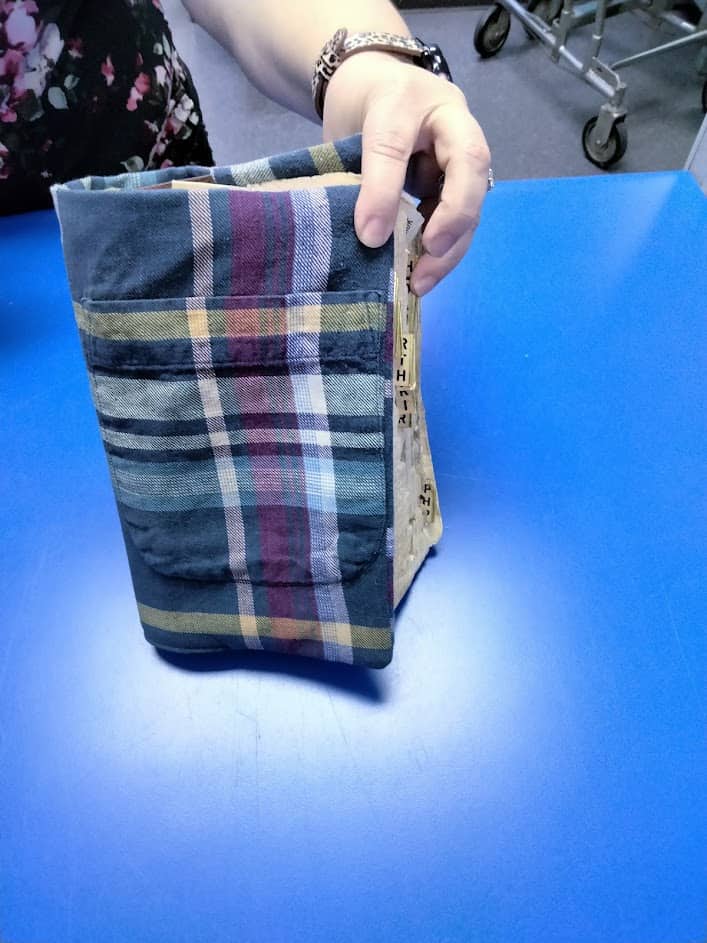
Now that the bible cover is fully sewn and ready to go, you just tuck the front cover and the back cover of the bible into the little sides that we made.
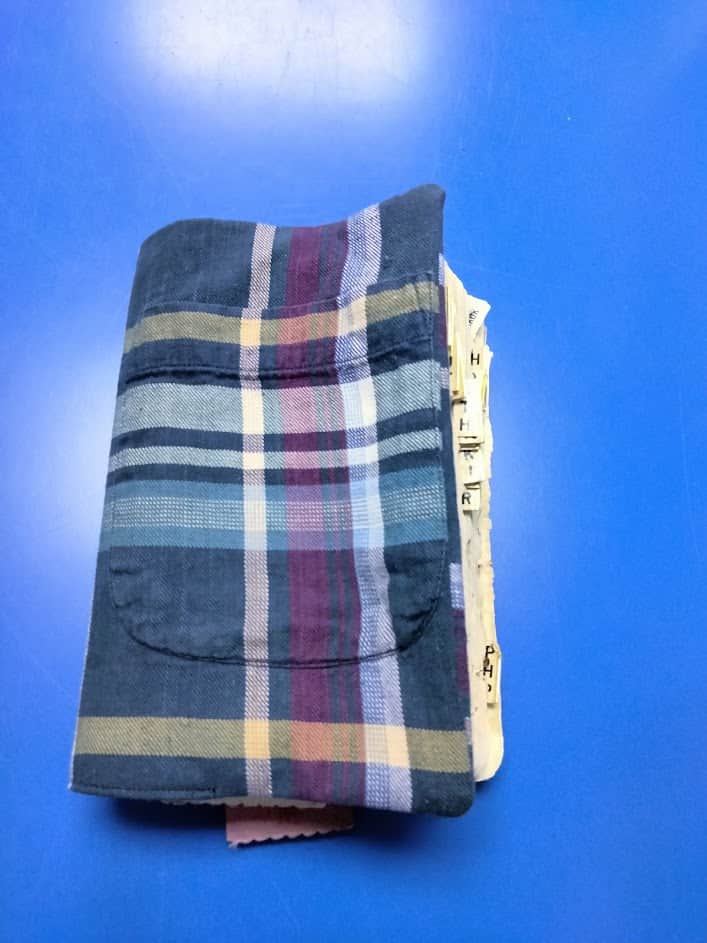
Memorial Bible Cover
This project was super special to me because the men’s button up shirt was my friend’s fathers. He had passed away recently, and my friend wanted a special keepsake. She also inherited his well loved bible and she wanted the cover to help protect it.
This very simple beginner project can be done using any clothing item that you want. You don’t have to use a pocket on the front, but since this shirt had one, I wanted to try to incorporate it into the final look.
If you’re interested in other upcycling or memorial projects that use clothing, check out our tutorial on “How to Make a Memorial Christmas Stocking“.